
10 Easy Camping Food Recipes Full Guide You Need
There’s something magical about cooking outdoors — the crackling fire, the smell of pine in the air, and kids giggling while marshmallows drip off their sticks. Whether you’re a seasoned camper or heading out for your first family trip, these 10 easy camping food recipes will make mealtime the highlight of the whole adventure!
Just like our fan-favorite one-pan dinner ideas, these recipes are simple, budget-friendly, and guaranteed to make everyone ask for seconds. Let’s get cooking under the stars!
What Are Camping Food Recipes?
Ever wonder why food just tastes better outside? Maybe it’s the fresh air, or maybe it’s because nobody can make you eat with proper utensils in the wilderness. Camping food recipes are hearty, simple meals designed to be cooked over an open fire or camp stove with minimal equipment.
As they say, the way to a man’s heart is through his stomach — and a hot, smoky, fire-cooked dinner after a long hiking day? That’s pure love. Try these recipes on your next trip and you’ll never want to eat indoors again!
Why You’ll Love These Camping Food Recipes
They’re Incredibly Simple to Make
No complicated techniques, no fancy appliances. These recipes are designed for real families at real campsites — with tired kids, limited gear, and enormous appetites. Most are ready in 30 minutes or less!
They Save You Serious Money
Pre-planned camping meals cost a fraction of roadside restaurants or overpriced camp-store snacks. You’ll eat better, spend less, and feel like a total outdoor chef.
The Kids Actually Help — and Love It!
Let the little ones stuff banana boats, fold foil packets, or roast their own marshmallows. These are meals that make memories, not just food. Isn’t that what camping is all about?
How to Make the Best Camping Food: Quick Overview
These recipes use familiar pantry staples and fresh ingredients you can grab at any grocery store. Most are one-pot, one-pan, or foil-packet style — meaning minimal cleanup and maximum flavor.
- Prep Time: 10–20 minutes per recipe (mostly done at home!)
- Cook Time: 15–35 minutes per recipe
- Difficulty Level: Beginner-friendly
- Equipment Needed: Campfire or camp stove, heavy-duty foil, cast iron skillet, skewers
Recipe 1: Classic Campfire Foil Packet Potatoes
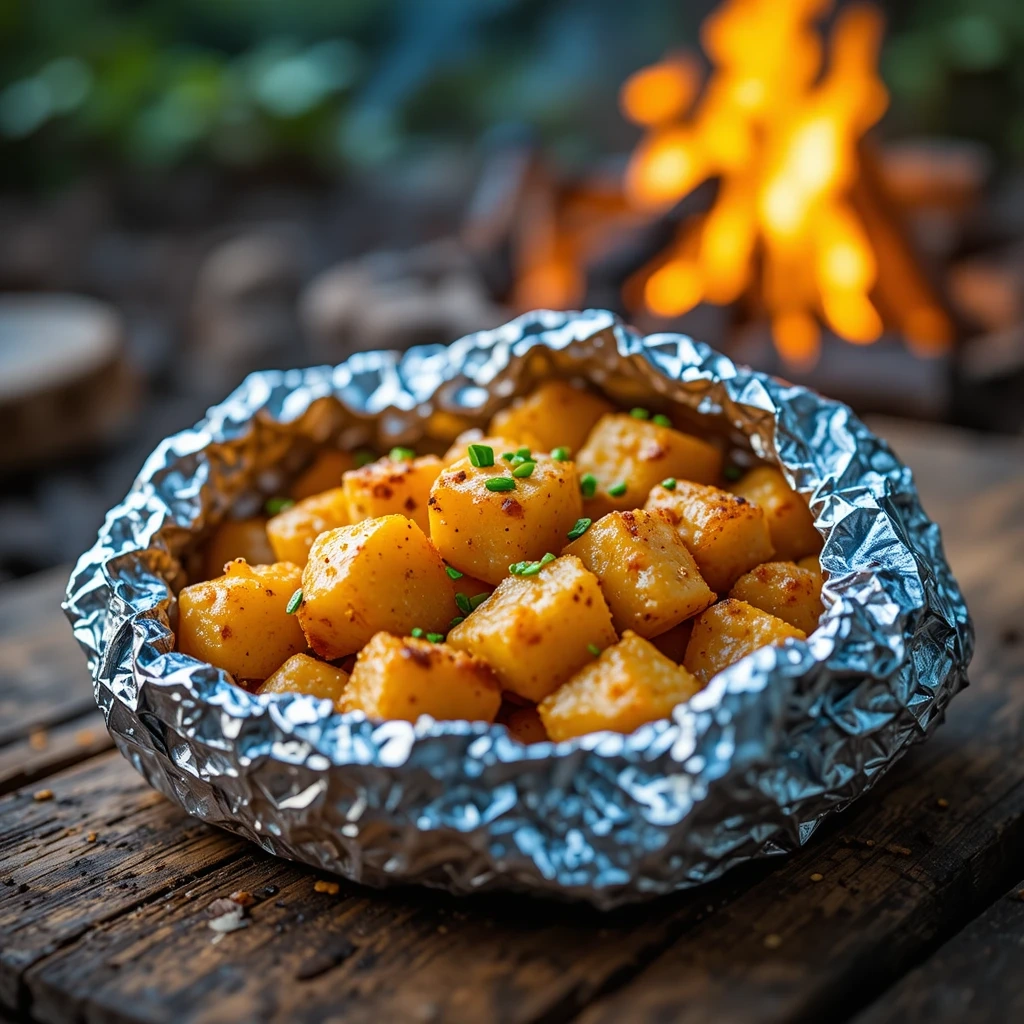
Tender, seasoned potatoes wrapped in foil and cooked right in the hot coals. Crispy on the outside, fluffy inside, and absolutely zero washing up.
Key Ingredients for Campfire Foil Packet Potatoes
- 4 medium russet potatoes, diced into 1-inch cubes
- 2 tbsp olive oil
- 1 tsp garlic powder
- 1 tsp smoked paprika
- Salt and pepper to taste
- 1 cup shredded cheddar cheese
- 2 tbsp fresh chives, chopped
Step-by-Step Instructions
Step 1 – Season the Potatoes
Place diced potatoes in a zip-lock bag with olive oil, garlic powder, paprika, salt, and pepper. Seal and shake until evenly coated. Do this at home to save camp time!
Step 2 – Build Your Foil Packets
Lay a large sheet of heavy-duty foil on a flat surface. Spoon potato mixture into the center. Fold the sides up and crimp tightly to form a sealed packet.
Step 3 – Cook Over Fire
Place packets directly on campfire coals or a raised grate. Cook for 20–25 minutes, flipping carefully halfway through with tongs.
Step 4 – Add Cheese and Serve
Carefully open packets (watch the steam!). Scatter cheese on top, close loosely for 2 minutes to melt, then finish with fresh chives. Eat straight from the foil — no plates needed!
Recipe 2: Easy Campfire Chili
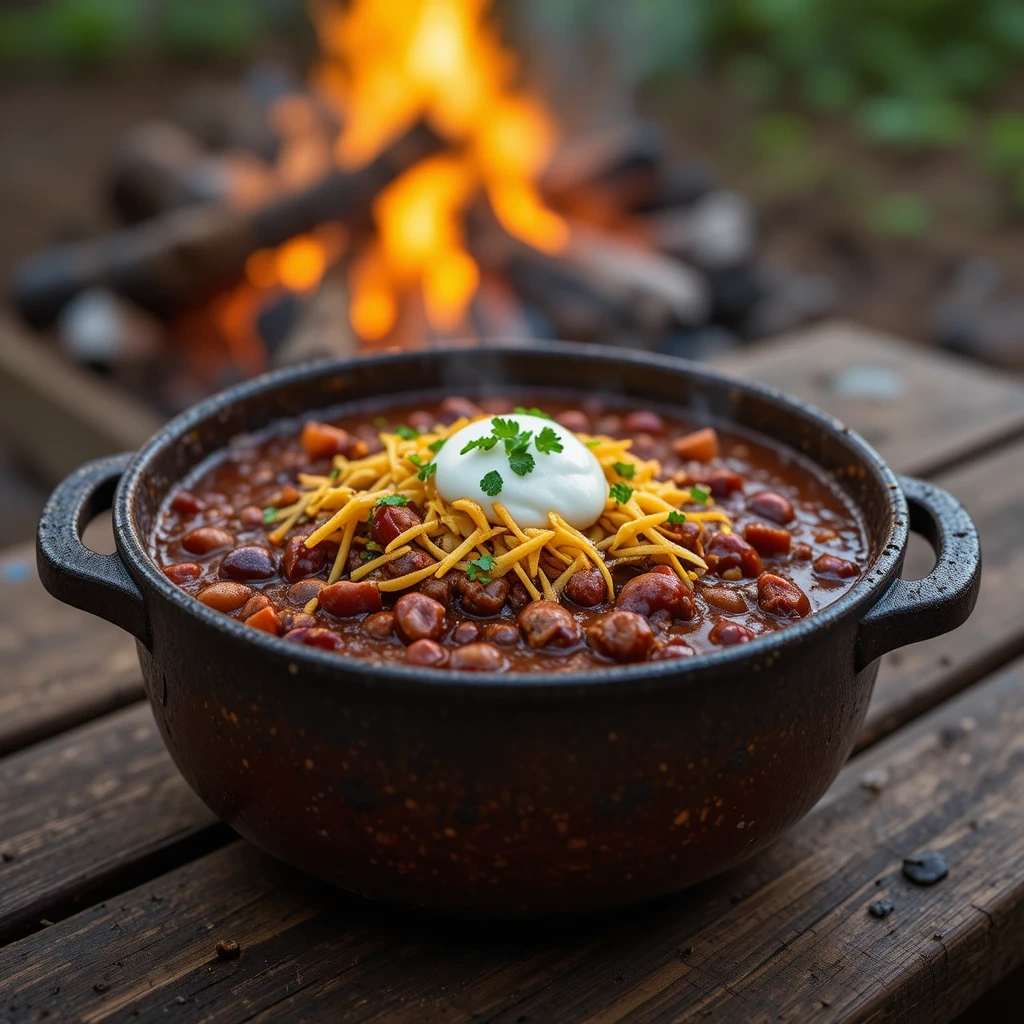
A deep, warming pot of chili perfect for cool evenings. This one-pot wonder is filling, flavorful, and even better the next day.
Key Ingredients for Campfire Chili
- 500g ground beef (or chicken/turkey)
- 1 can (400g) kidney beans, drained
- 1 can (400g) diced tomatoes
- 1 medium onion, finely diced
- 2 tsp chili powder
- 1 tsp ground cumin
- ½ tsp garlic powder
- Salt and pepper to taste
- Shredded cheddar and sour cream to serve
Step-by-Step Instructions
Step 1 – Brown the Meat
Heat a cast iron pot or Dutch oven over campfire. Add ground beef and diced onion. Cook, stirring, until meat is fully browned. Drain any excess fat carefully.
Step 2 – Add Everything In
Stir in the diced tomatoes, kidney beans, chili powder, cumin, garlic powder, salt, and pepper. Mix well.
Step 3 – Simmer Until Thick
Let the chili bubble gently for 20–25 minutes, stirring every few minutes until it thickens beautifully.
Step 4 – Serve with Toppings
Ladle into bowls. Top with shredded cheddar, a dollop of sour cream, and crackers on the side. Pure campfire comfort!
Recipe 3: Campfire Breakfast Burritos
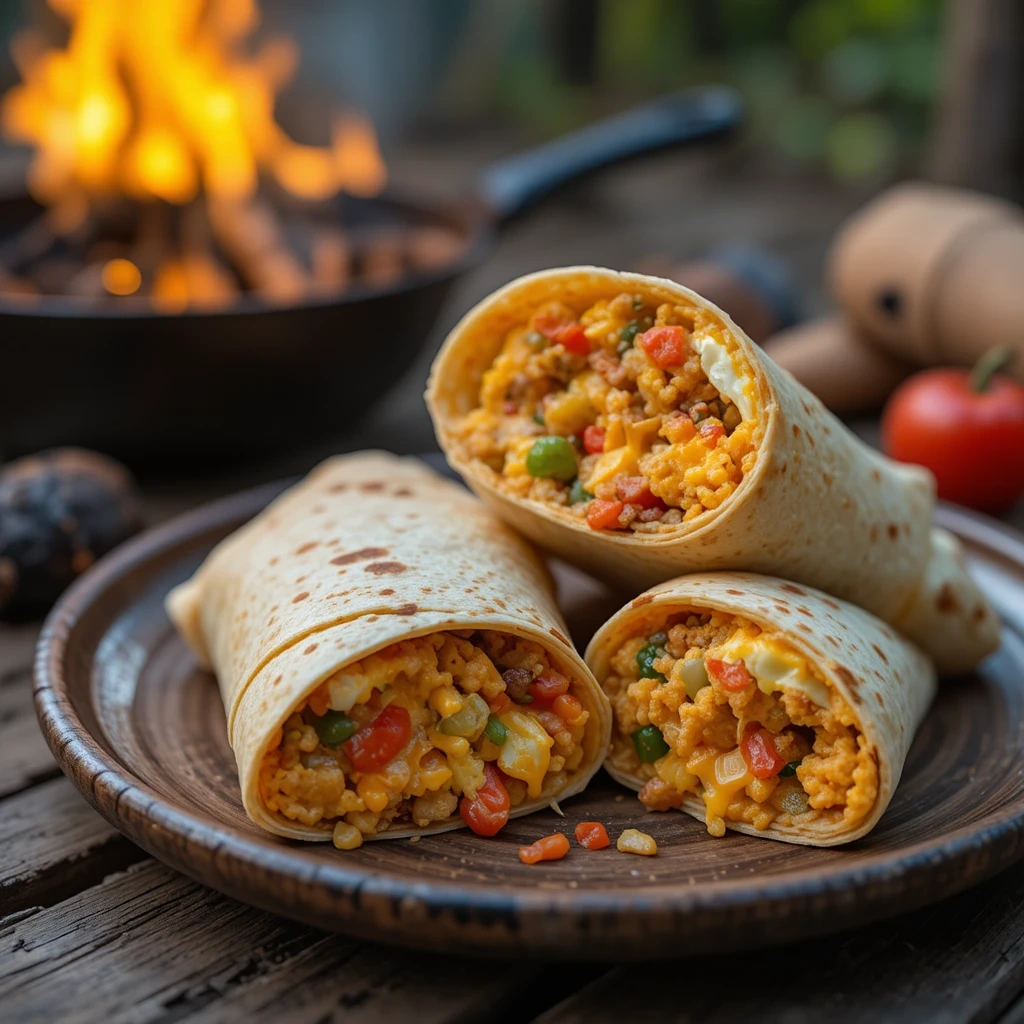
The breakfast that fuels epic hikes. Scrambled eggs, sautéed veggies, and melty cheese wrapped in a warm tortilla — ready in 15 minutes!
Key Ingredients for Campfire Breakfast Burritos
- 6 large eggs
- ½ cup red bell pepper, finely diced
- ½ cup onion, finely diced
- 1 cup shredded cheddar cheese
- 4 large flour tortillas
- 1 tbsp butter or oil
- Salt, pepper, and hot sauce (optional)
Step-by-Step Instructions
Step 1 – Sauté Your Veggies
Melt butter in a skillet over camp stove or fire grate. Add pepper and onion. Cook for 3–4 minutes until soft and slightly golden.
Step 2 – Scramble the Eggs
Whisk eggs with a pinch of salt and pepper. Pour over the vegetables and scramble gently over medium heat until just set — not rubbery!
Step 3 – Warm the Tortillas
Place each tortilla on the warm grate for 20–30 seconds per side to make it soft and pliable.
Step 4 – Assemble and Roll
Spoon egg filling down the center of each tortilla. Sprinkle generously with cheese. Add hot sauce if you like a kick. Fold in the sides and roll tightly. Serve immediately while everything is melty and warm!
Recipe 4: Honey Garlic Chicken Skewers
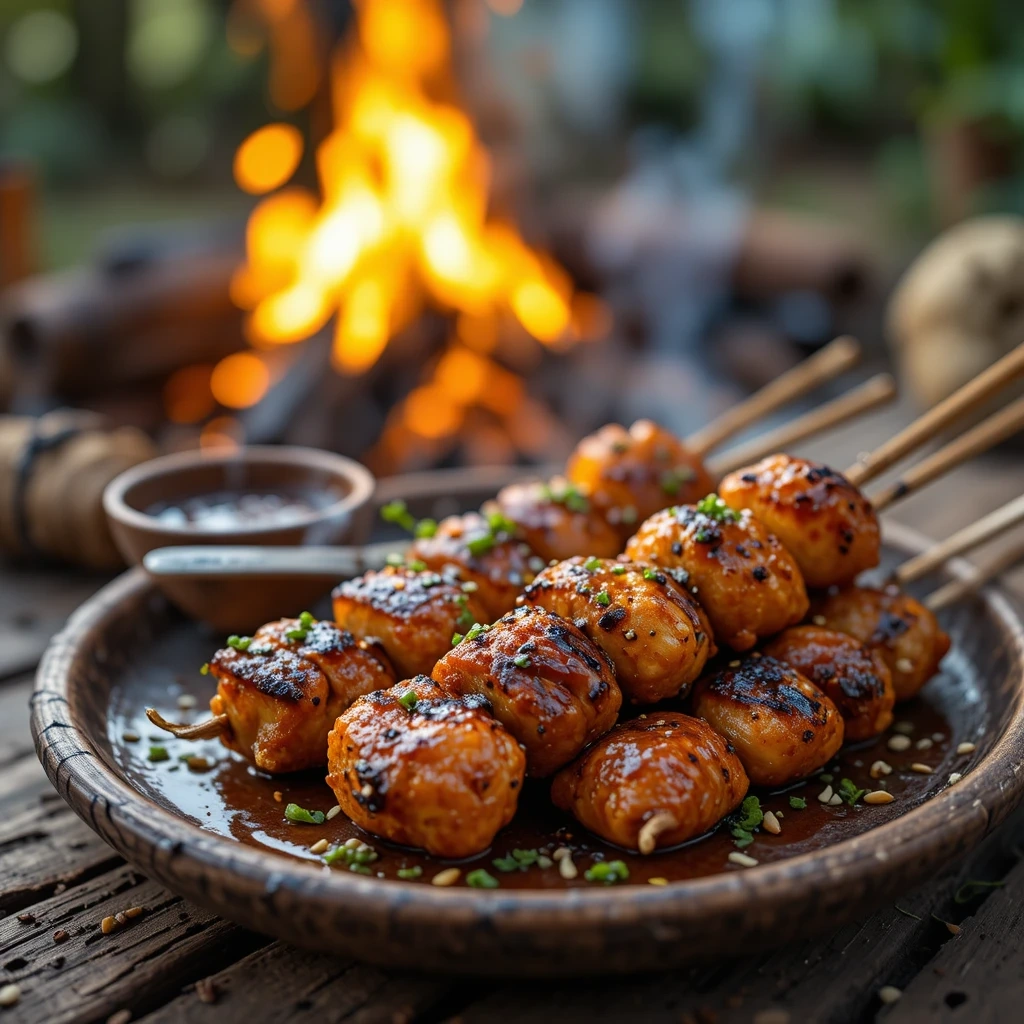
Juicy, sticky-sweet chicken threaded onto skewers and grilled over open flame. Kids absolutely love eating anything on a stick — it’s just science.
Key Ingredients for Honey Garlic Chicken Skewers
- 600g chicken breast, cut into 1.5-inch cubes
- 3 tbsp honey
- 2 tbsp soy sauce (low-sodium works great)
- 2 garlic cloves, minced
- 1 tsp sesame oil
- Salt and pepper to taste
- Wooden or metal skewers
Step-by-Step Instructions
Step 1 – Marinate the Chicken
Combine honey, soy sauce, minced garlic, sesame oil, salt, and pepper in a zip-lock bag. Add chicken pieces. Seal and marinate for at least 2 hours — do this at home the night before!
Step 2 – Prep the Skewers
If using wooden skewers, soak them in water for 30 minutes first to prevent burning. Thread marinated chicken pieces onto skewers, leaving small gaps for even cooking.
Step 3 – Grill Over Campfire
Place skewers on a grate over glowing coals. Grill for 12–15 minutes total, turning every 3–4 minutes. Look for a beautiful char and juicy interior.
Step 4 – Rest and Serve
Let the skewers rest for 2 minutes before serving. Serve alongside campfire potatoes, rice, or flatbread for a complete feast!
Recipe 5: Campfire Mac & Cheese
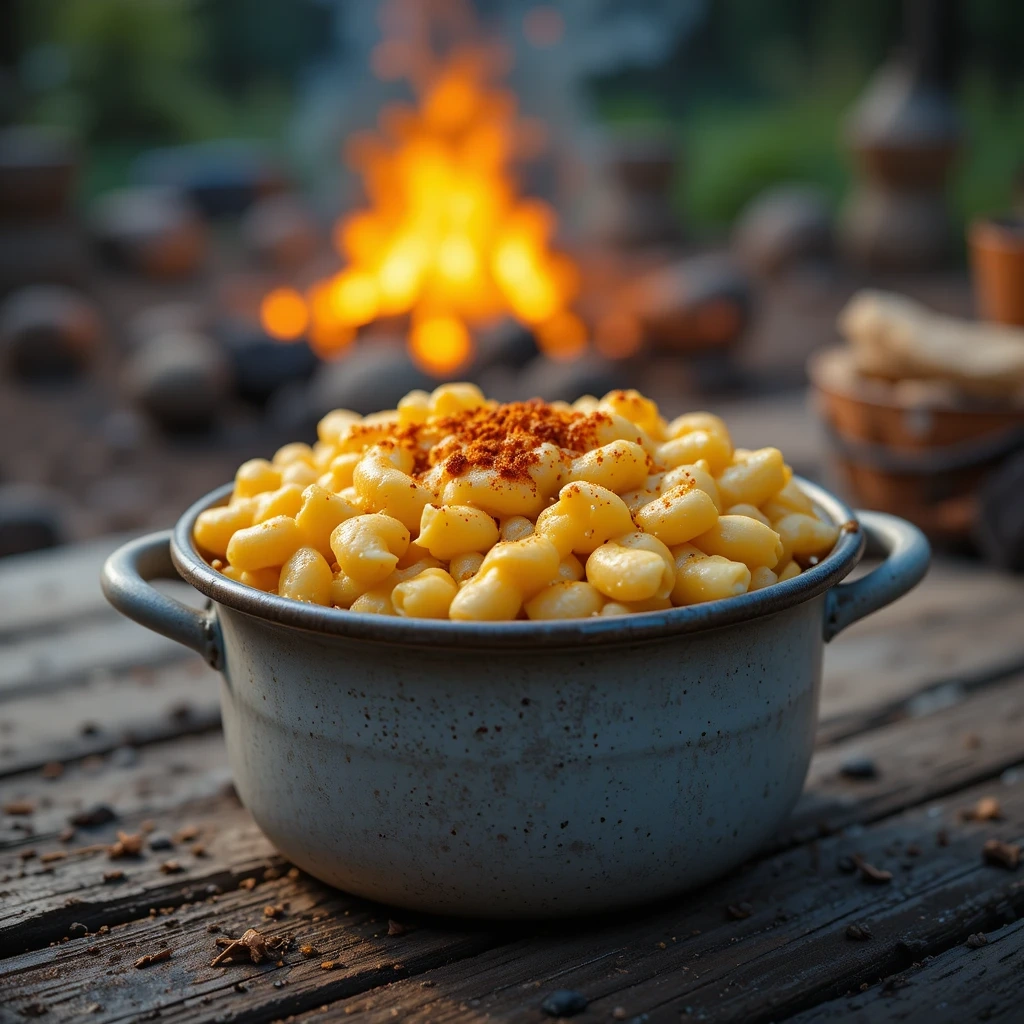
The one recipe that guarantees happy kids at any campsite. Creamy, cheesy, and made in exactly one pot. Enough said.
Key Ingredients for Campfire Mac & Cheese
- 2 cups elbow pasta
- 1½ cups water
- ½ cup whole milk
- 1½ cups shredded sharp cheddar cheese
- 1 tbsp butter
- Salt to taste
- Pinch of paprika (optional)
Step-by-Step Instructions
Step 1 – Cook the Pasta
Add pasta and water to a pot over your camp stove. Bring to a boil, then reduce heat. Cook for 8–10 minutes, stirring frequently, until pasta is cooked and water is mostly absorbed.
Step 2 – Add the Creamy Base
Turn heat to low. Stir in butter and milk until the pasta is well coated and smooth.
Step 3 – Melt in the Cheese
Add shredded cheese one handful at a time, stirring after each addition until fully melted and gloriously creamy.
Step 4 – Season and Devour
Season with salt and paprika. Serve immediately in bowls. Watch the kids inhale it — try not to feel proud.
Recipe 6: Grilled Corn on the Cob
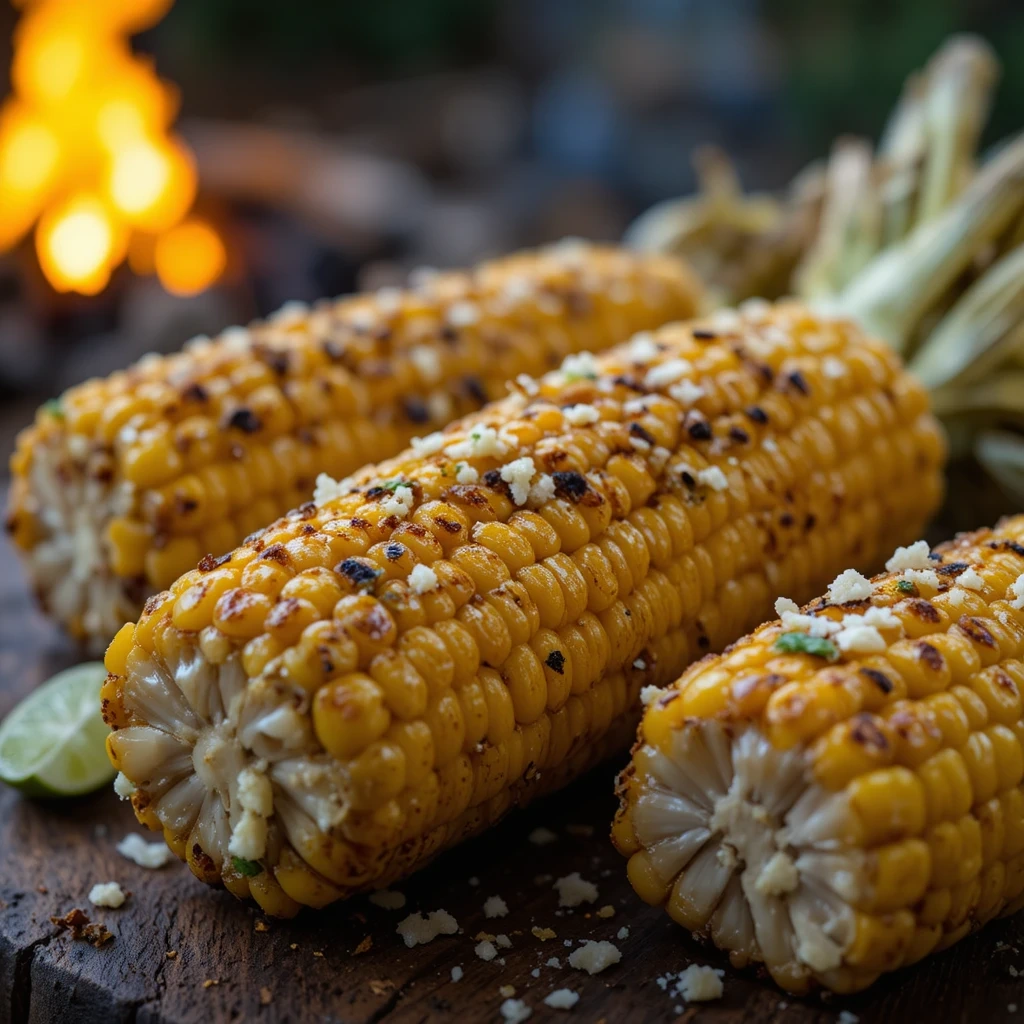
Sweet, buttery, campfire-kissed corn grilled in its own husk. The husks act as a natural wrapper that steams the corn perfectly from the inside out.
Key Ingredients for Grilled Campfire Corn
- 4 ears of fresh corn (husks on)
- 4 tbsp softened butter
- 1 tsp garlic powder
- Salt and black pepper
- Optional: lime juice, chili flakes, grated parmesan
Step-by-Step Instructions
Step 1 – Soak the Corn
Place whole corn (husks intact) in a bucket of cold water for 20–30 minutes. This prevents charring and creates steam while cooking.
Step 2 – Add Seasoned Butter
Peel back husks carefully without detaching them. Rub garlic butter directly onto the kernels. Fold husks back up over the corn.
Step 3 – Grill Over Fire
Place corn on campfire grate over medium coals. Grill for 15–20 minutes, turning every 5 minutes, until husks are lightly charred and corn is tender.
Step 4 – Serve Your Way
Pull back the husks to use as a handle. Sprinkle with salt and enjoy! For a Mexican street-style version, squeeze lime, add chili flakes and a dusting of parmesan. Absolutely incredible!
Recipe 7: Campfire Banana Boats
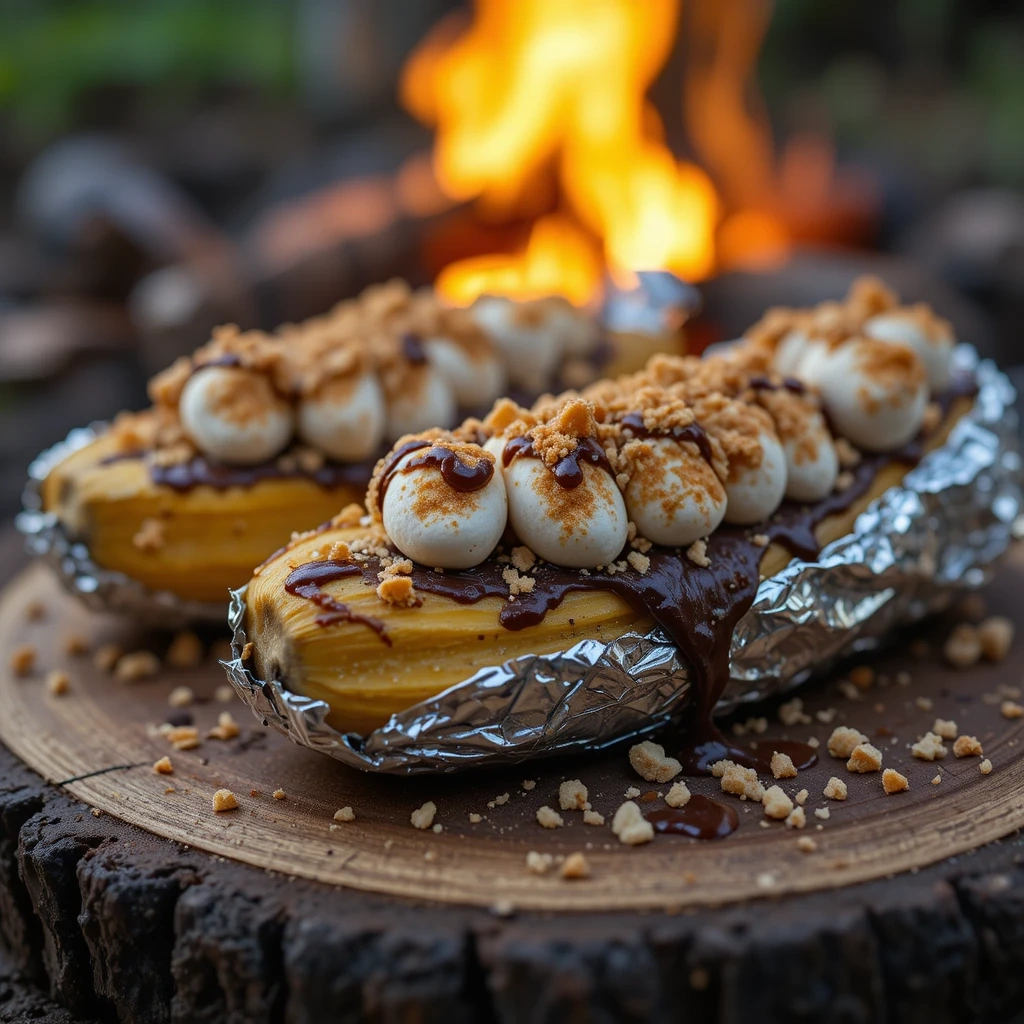
The recipe that makes kids think camping is the greatest thing ever. Stuffed with chocolate and marshmallows, cooked in foil until everything is warm and gooey. Pure magic in a peel.
Key Ingredients for Banana Boats
- 4 ripe bananas (unpeeled)
- ½ cup chocolate chips
- 1 cup mini marshmallows
- Optional: crushed graham crackers, peanut butter drizzle
Step-by-Step Instructions
Step 1 – Score the Banana
Without removing the peel, slice a deep slit lengthwise along the top of the banana, being careful not to cut all the way through.
Step 2 – Load Them Up
Open the slit and fill it generously with chocolate chips and mini marshmallows. Add any extras like crushed crackers or a drizzle of peanut butter.
Step 3 – Wrap and Heat
Wrap each banana tightly in foil. Nestle them into the campfire coals (not flames!) for 5–8 minutes until the chocolate is fully melted and marshmallows are gooey.
Step 4 – Scoop and Enjoy
Unwrap carefully — the foil will be hot! Hand out spoons and let everyone scoop directly from the peel. Prepare for pure, unbridled joy.
Recipe 8: One-Pot Pasta Puttanesca
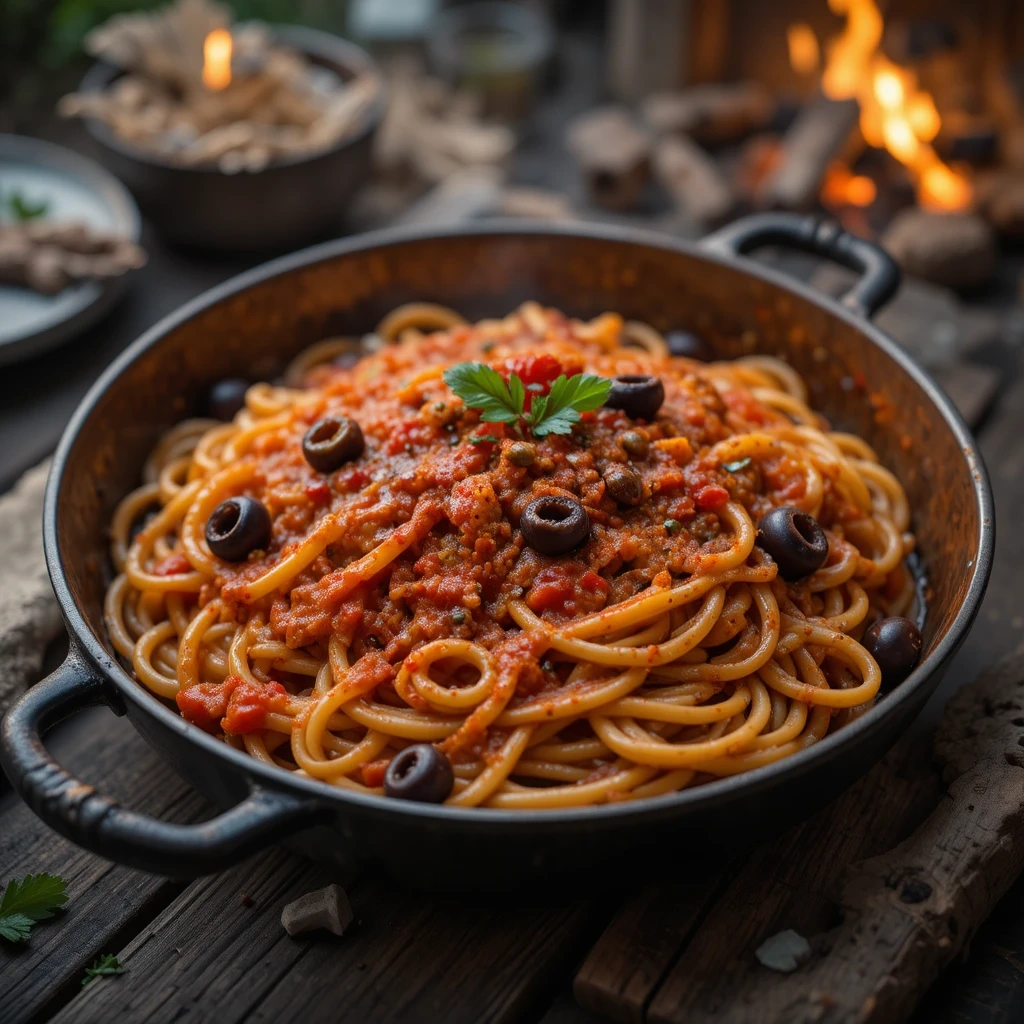
A bold, tangy pasta with olives, capers, and tomatoes. This one sounds fancy but takes almost zero effort — and it’ll make your campsite neighbors genuinely jealous.
Key Ingredients for One-Pot Pasta Puttanesca
- 300g spaghetti or penne
- 1 can (400g) diced tomatoes
- ½ cup black olives, sliced
- 2 tbsp capers
- 3 garlic cloves, minced
- 2 cups water or vegetable broth
- 2 tbsp olive oil
- Salt, pepper, and dried chili flakes
Step-by-Step Instructions
Step 1 – Combine Everything in the Pot
Add pasta, canned tomatoes, olives, capers, minced garlic, water/broth, olive oil, salt, and pepper into a single pot. No pre-cooking needed!
Step 2 – Bring to a Boil
Set over high heat and bring to a rolling boil, stirring to prevent the pasta from clumping.
Step 3 – Simmer Until Creamy
Reduce heat and continue cooking for 10–12 minutes, stirring frequently, until pasta is tender and the sauce has thickened around it.
Step 4 – Finish and Serve
Sprinkle with chili flakes and a drizzle of olive oil. Serve from the pot — one less bowl to wash!
Recipe 9: Campfire Quesadillas
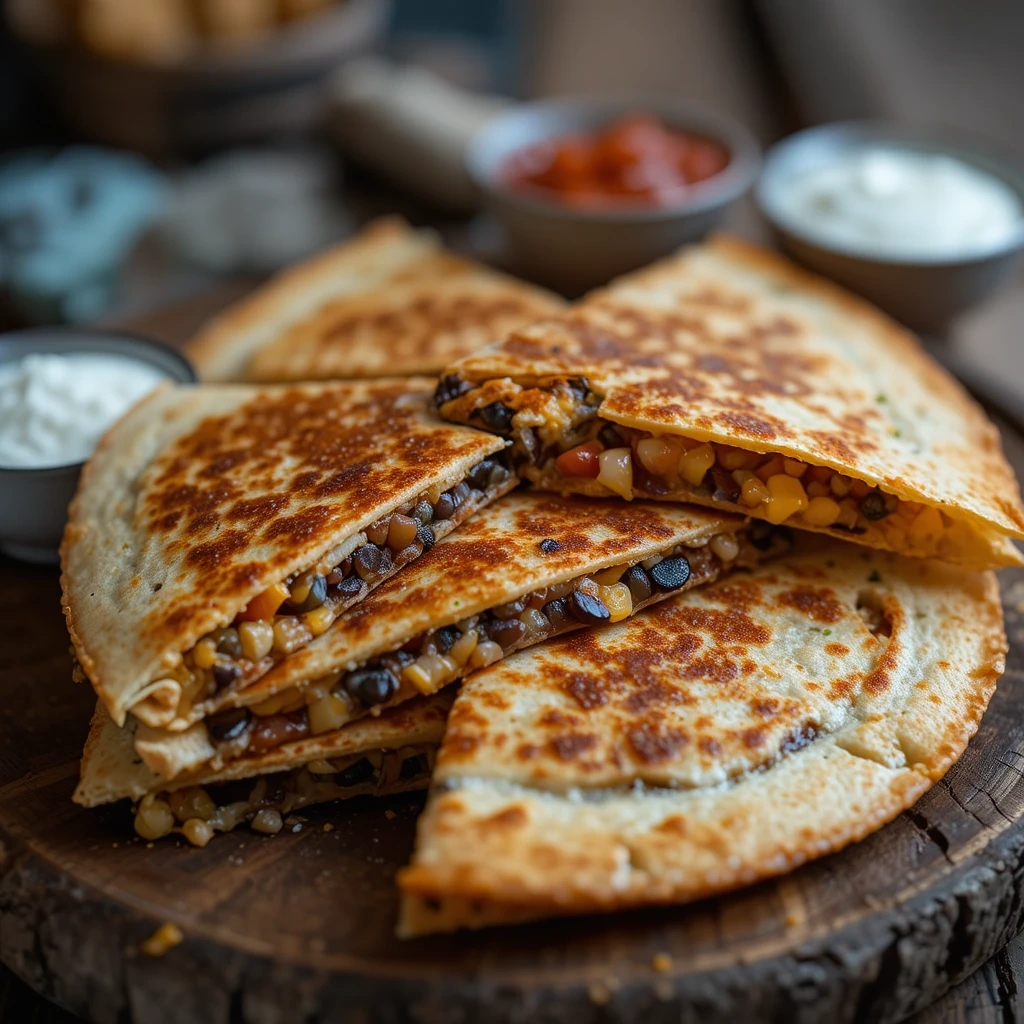
Golden, crispy, and filled with melted cheese, beans, and sweet corn. These disappear faster than you can make them — so double the batch.
Key Ingredients for Campfire Quesadillas
- 4 large flour tortillas
- 1½ cups shredded cheddar or mozzarella
- 1 can black beans, drained and rinsed
- ½ cup canned or fresh corn
- Salsa and sour cream to serve
Step-by-Step Instructions
Step 1 – Fill the Tortillas
Spread a layer of black beans and corn on one half of each tortilla. Top with a generous handful of shredded cheese. Fold the tortilla in half.
Step 2 – Cook Until Golden
Heat a lightly oiled skillet over camp stove or fire. Place folded quesadilla in the pan. Cook 3–4 minutes per side until deeply golden and crispy, with the cheese fully melted inside.
Step 3 – Slice and Serve
Cut into wedges with a knife (or camping scissors — they’re perfect for this!). Arrange on a plate and serve with salsa and sour cream for dipping.
Recipe 10: Classic S’mores
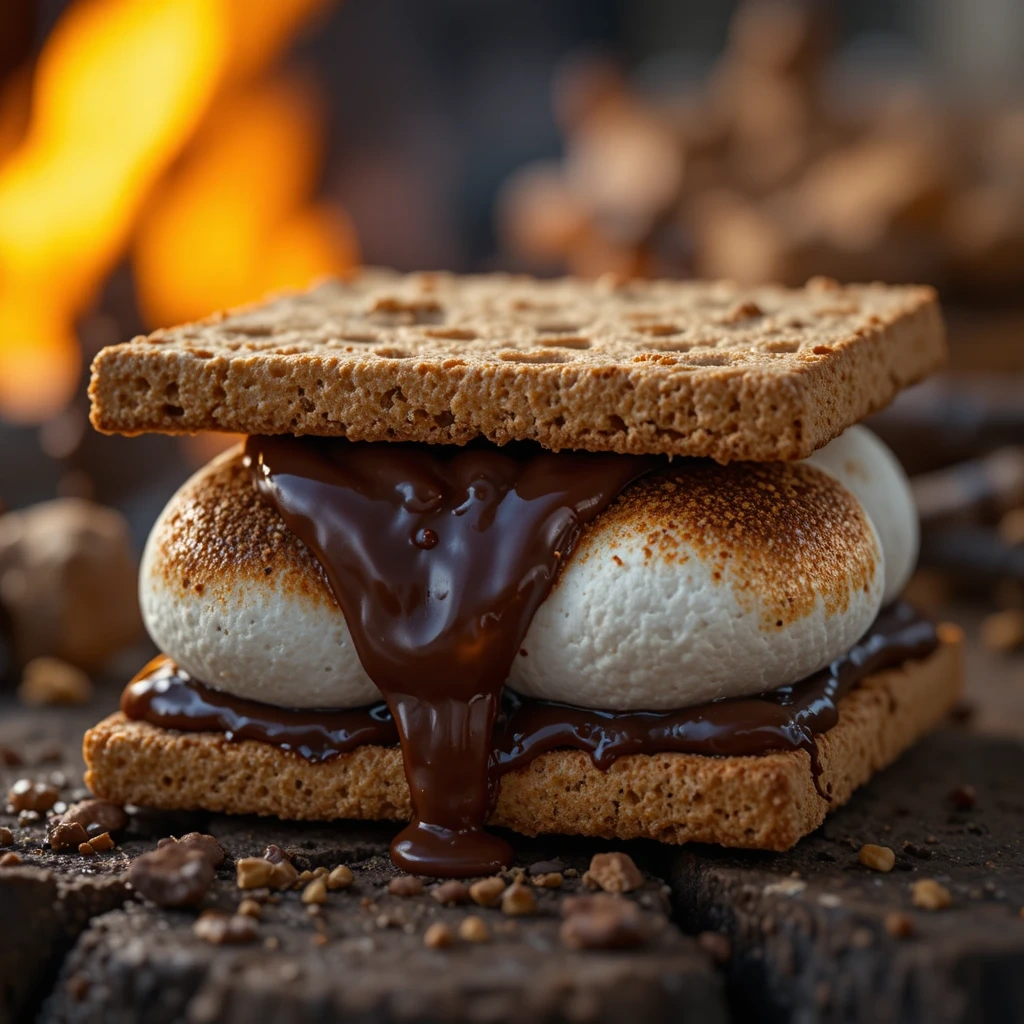
The crown jewel of all campfire desserts. Toasty marshmallow, melty chocolate, crunchy graham crackers — this is the recipe that made entire generations fall in love with camping.
Key Ingredients for Classic S’mores
- 1 pack graham crackers
- 1 large chocolate bar, broken into squares
- 1 bag large marshmallows
- Roasting sticks or long skewers
Step-by-Step Instructions
Step 1 – Set Up the S’more Station
Break graham crackers into pairs. Place a square of chocolate on one cracker per person. Lay everything out within easy reach of the fire — this goes fast!
Step 2 – Toast Your Marshmallow
Skewer a marshmallow. Hold it just above glowing coals (not active flames!), rotating slowly and patiently. Toast to your preferred level — pale and puffy, or fully golden. Both are correct!
Step 3 – The Assembly
Sandwich the hot marshmallow between your chocolate-topped cracker and the plain cracker. Pull the stick out slowly. The heat from the marshmallow will melt the chocolate into silky perfection.
Step 4 – Bite In
Take the messiest, most wonderful bite of your life. Wipe your face on your sleeve. Reach for another one. There are never enough s’mores.
📊 Nutrition Overview (Estimated Per Serving)
| Recipe | Calories | Protein | Carbs | Fat |
|---|---|---|---|---|
| Foil Packet Potatoes | 280 kcal | 8g | 38g | 10g |
| Campfire Chili | 380 kcal | 28g | 30g | 14g |
| Breakfast Burritos | 350 kcal | 22g | 32g | 13g |
| Honey Garlic Chicken Skewers | 290 kcal | 36g | 12g | 7g |
| Campfire Mac & Cheese | 420 kcal | 18g | 52g | 16g |
| Grilled Corn on the Cob | 180 kcal | 5g | 28g | 6g |
| Banana Boats | 210 kcal | 3g | 42g | 6g |
| One-Pot Pasta Puttanesca | 360 kcal | 12g | 58g | 9g |
| Campfire Quesadillas | 310 kcal | 15g | 34g | 12g |
| Classic S’mores | 250 kcal | 3g | 42g | 8g |
Values are estimates and vary based on portion sizes and brands used.
What to Serve These Camping Recipes With
These meals are wonderful on their own, but a few simple sides take them to the next level:
- Fresh fruit like watermelon slices, grapes, or apple wedges — refreshing and requires zero prep
- Pre-sliced sourdough bread wrapped in foil — perfect for scooping up chili or wiping out the pasta pot
- Hummus and veggie sticks — pack pre-portioned in containers for snacking while dinner cooks
- Trail mix or granola bars — for the hungry hikers who “need something right now”
- Hot chocolate or warm herbal tea — the ultimate campfire companion after dessert
Top Tips for Perfecting Camping Recipes
Prep Everything at Home First
Dice your vegetables, marinate proteins, measure spices into small labeled bags, and pre-cook anything that benefits from it. This cuts campsite prep to almost nothing and keeps things stress-free.
Always Use Heavy-Duty Foil
Regular foil tears and leaks over fire. Double-wrap all foil packets with heavy-duty foil for even heat distribution and zero spillage disasters.
Cook Over Coals, Not Flames
Active fire flames are unpredictable and burn food quickly. Wait for coals to glow — they provide steady, even, controllable heat perfect for cooking.
Embrace the Cast Iron Skillet
Yes, it’s heavy. Yes, it’s worth it. Cast iron handles campfire heat beautifully, distributes it evenly, and essentially does all the hard work for you.
Pack a Meat Thermometer
Always confirm chicken reaches 165°F (74°C) internally. It’s a tiny tool that prevents a whole lot of problems.
Tips for Avoiding Common Camping Cooking Mistakes
These small fixes make a huge difference, especially for first-timers:
- Burning food on direct flames → Always wait for coals to form and cook on a grate slightly elevated above the heat source.
- Undercooked chicken → Use a thermometer. Never guess with poultry.
- Pasta sticking together → Stir frequently and add a splash of extra water if the pot dries out too fast.
- Soggy foil packets → Avoid overfilling with liquid ingredients and double-wrap tightly before sealing.
- Forgetting cooking oil → Pack small squeeze bottles or individual oil sachets — olive oil saves the day constantly at campsites.
- Running out of gas → Always carry a backup propane canister on trips longer than 2 nights.
- Food spoiling in the cooler → Layer cooler with block ice at the bottom, food in the middle, more ice on top. Keep the cooler in the shade at all times.
Storing and Reheating Tips
In the Cooler: Store all cooked food in sealed zip-lock bags or airtight containers in a cooler kept below 40°F (4°C). Refresh ice daily. Most cooked camping meals stay fresh for up to 2 days.
Reheating at Camp: Warm leftovers in the same skillet or pot over the camp stove with a splash of water to prevent sticking and drying out. Foil packet leftovers can simply be re-sealed and returned to the coals for 8–10 minutes.
Pre-Freeze for the Trip: Pre-cooked chili and marinated raw meats freeze beautifully. Freeze them in labeled zip-lock bags before leaving — they act as natural ice packs in your cooler and defrost perfectly by dinner time!
Never Reheat Chicken Twice: Leftover chicken skewers should be eaten within one reheating. When in doubt, throw it out. Food safety always comes first!
Frequently Asked Questions
What is the easiest camping food for absolute beginners?
Foil packet meals are hands-down the easiest starting point. Toss ingredients in foil, seal it up, toss on the fire, and wait. Minimal skill, maximum reward — and cleanup is literally just throwing away the foil!
What camping foods don’t need refrigeration?
Trail mix, peanut butter, nut bars, crackers, dried pasta, canned beans, canned tuna, honey, instant oats, and jerky are all shelf-stable and perfect for no-cooler camping.
How do you keep food cold while camping?
Use a high-quality insulated cooler with block ice at the bottom (block ice lasts longer than cubed). Pre-chill your cooler for several hours before packing. Keep it in the shade, minimize opening it, and never leave it sitting in direct sunlight.
What’s the best protein for camping meals?
Canned beans, canned tuna, pre-marinated chicken (in a cooler), hard-boiled eggs, nut butters, and beef jerky are all excellent. They’re versatile, filling, and easy to pack.
Can I prep all these recipes before leaving home?
Yes, and you absolutely should! Pre-chop all vegetables, marinate proteins, pre-measure spices, and pack everything in labeled bags. Some families even pre-assemble full foil packets at home and freeze them!
Are all 10 recipes safe and fun for children?
Absolutely! Every recipe on this list was designed with families in mind. Let kids help assemble quesadillas, stuff banana boats, skewer marshmallows, and stir the mac and cheese. Supervised campfire activities create some of the best childhood memories imaginable.
What cooking equipment should I bring camping?
At minimum: a cast iron skillet, a medium pot with a lid, tongs, a spatula, a sharp chef’s knife, a small cutting board, and a roll of heavy-duty foil. A camp stove with extra fuel is highly recommended as a backup to the campfire.
How do I stop food from burning over a campfire?
Let the wood burn down to glowing orange coals before cooking. Keep food on a grate elevated a few inches above the heat. Check and turn food frequently. Patience is your most important tool at a campfire.
Happy camping and even happier eating! 🏕️🔥 From sunrise breakfast burritos to midnight s’mores, these 10 camping food recipes are everything your family’s next outdoor adventure needs. Pin this post, pack your cooler, and we’ll see you around the fire!