
Tuna Helper Recipes That Make Dinner Easy
When you’re staring at the clock at 5 PM and wondering what’s for dinner, Tuna Helper becomes your best friend. This simple boxed dinner mix has saved countless families from the weeknight dinner struggle. But let’s be honest – sometimes the basic recipe can feel a bit boring or bland.
Many people think boxed dinner mixes are just cheap convenience food that lacks flavor. Others worry they’re not nutritious enough for their families. The good news is that with a few simple tricks and creative twists, you can transform your Tuna Helper into restaurant-quality meals that everyone will love.
In this post, you’ll discover how to make perfect Tuna Helper every single time. We’ll share five amazing recipe variations, healthy upgrade tips, and smart storage solutions. You’ll also learn budget-friendly shopping strategies and troubleshooting fixes for common problems. By the end, you’ll have everything you need to make this pantry staple your go-to dinner solution.
Table of Contents
What Makes Tuna Helper So Popular?
Convenience Factor
Tuna Helper wins the convenience game hands down. Most varieties are ready in just 15-20 minutes from start to finish. This means you can walk in the door after a long day and have dinner on the table before anyone gets too hangry.
The prep work is minimal too. You’ll need to open a can of tuna, measure some water and milk, and let everything cook together in one pot. No fancy knife skills or multiple cooking techniques required. Even kids can help make this meal, which makes it perfect for teaching cooking basics.
The one-pot cooking method means less cleanup afterward. When you’re already tired from a busy day, having fewer dishes to wash feels like a huge win. Just one pot, one spoon, and maybe a can opener – that’s it.
Budget-Friendly Option
Let’s talk money. A typical Tuna Helper meal costs under $5 to feed a family of four. Compare that to takeout pizza at $25 or Chinese food at $30, and you’re looking at serious savings. Even a basic fast-food meal for four people costs more than this home-cooked option.
The ingredients are all pantry staples that you probably already have on hand. A box of Tuna Helper, one can of tuna, some milk, and water – these items have long shelf lives and can wait patiently in your cupboard for emergency dinner situations.
When you buy ingredients in bulk or catch them on sale, the cost per meal drops even lower. Many stores offer store-brand versions that taste just as good as name brands but cost 30-40% less.
Kid-Approved Taste
Parents know the struggle of finding meals that kids will actually eat. Tuna Helper hits all the right notes with familiar flavors that don’t scare picky eaters. The creamy, cheesy taste reminds kids of mac and cheese, but with added protein.
The texture is soft and comforting, without any weird chunks or surprise ingredients that might cause dinner table battles. Most kids enjoy the mild flavor, and you can easily customize it to make it even more appealing to your little ones.
Essential Tips for Perfect Tuna Helper Every Time
Choosing the Right Tuna
Not all tuna is created equal, and your choice makes a big difference in the final dish. Solid tuna holds together better and gives you nice chunks throughout your meal. Chunk tuna breaks apart more, creating a smoother texture that some people prefer.
Oil-packed tuna adds richness and flavor to your Tuna Helper. The oil helps carry flavors and makes the sauce taste more luxurious. Water-packed tuna is lighter and lets the other flavors shine through. Both work well – it’s just a matter of personal preference.
For a real upgrade, try using fresh tuna steak that you cook and flake yourself. This transforms your humble boxed dinner into something that feels restaurant-worthy. Just sear the tuna for 2-3 minutes per side, then flake it into large pieces.
Cooking Techniques That Matter
The key to perfect Tuna Helper is getting the pasta texture just right. Don’t let the water boil too hard – a gentle simmer works better. Hard boiling can make the pasta break apart and create a mushy final dish.
Watch your sauce consistency carefully. If it looks too thick, add a splash more milk or water. If it’s too thin, let it simmer uncovered for an extra minute or two. The sauce should coat the pasta nicely without being soupy or dry.
Temperature control matters more than you might think. Keep the heat at medium or medium-low once everything is combined. High heat can cause the sauce to break or the bottom to burn while the top stays cold.
Common Mistakes to Avoid
The biggest mistake people make is adding the tuna too early. Wait until the very end to fold in your tuna. Adding it too soon makes it tough and dry. The residual heat from the pasta and sauce will warm the tuna perfectly without overcooking it.
Don’t forget to taste and season! The mix provides basic flavor, but a pinch of salt, some black pepper, or a squeeze of lemon juice can make a huge difference. Trust your taste buds and adjust as needed.
Overcooking is another common problem. Once the pasta is tender and the sauce has thickened, you’re done. Continuing to cook will just make everything mushy and unappetizing.
5 Classic Tuna Helper Recipe Variations
Traditional Creamy Tuna Helper
This is the classic version that most people know and love. You’ll need one box of Tuna Helper, one 5-ounce can of tuna, 2 cups of water, and 1 cup of milk. Some varieties also call for butter or margarine.
Start by bringing the water to a boil in a large skillet. Add the pasta and sauce mix, then reduce heat to medium. Simmer for 10-12 minutes until the pasta is tender, stirring occasionally. Remove from heat, add the milk and drained tuna, then stir gently until combined. Let it sit for 2 minutes to thicken.
Serve this with a simple green salad and some crusty bread for a complete meal that everyone will enjoy.
Cheesy Tuna Helper Casserole
Transform your stovetop meal into a bubbly casserole by adding extra cheese and baking it. After preparing the basic recipe, transfer everything to a greased 9×13 baking dish. Top with 1 cup of shredded cheddar cheese and bake at 350°F for 15-20 minutes until golden and bubbly.
You can make this ahead of time too. Prepare the casserole in the morning, cover with foil, and refrigerate. When dinner time comes, just pop it in the oven. Add 10 extra minutes to the baking time if starting from cold.
Spicy Tuna Helper Kick
Add some heat to your dinner with jalapeños, hot sauce, or red pepper flakes. Start with small amounts and taste as you go – you can always add more heat, but you can’t take it away.
Diced jalapeños work great if you want actual pepper pieces. Hot sauce blends in smoothly for overall heat. Red pepper flakes give you little bursts of spice throughout the dish. Serve with sour cream or plain Greek yogurt to cool things down if needed.
Mediterranean Tuna Helper Twist
Give your meal a Mediterranean makeover with olive oil, herbs, and vegetables. Replace half the butter with good olive oil, and add dried oregano, basil, and a pinch of garlic powder. Stir in some diced tomatoes, black olives, and crumbled feta cheese at the end.
This version pairs beautifully with a crisp white wine and feels much more sophisticated than the basic recipe. The herbs and vegetables add nutrition and fresh flavors that brighten up the whole dish.
Asian-Inspired Tuna Helper
Create an Asian fusion version by adding soy sauce, fresh ginger, and sesame oil. Replace some of the milk with chicken broth for deeper flavor. Add frozen peas, shredded carrots, or snow peas during the last few minutes of cooking.
Finish with sliced green onions and a sprinkle of sesame seeds. This version tastes completely different from the original but uses the same basic technique.
Healthy Upgrades for Your Tuna Helper
Adding Vegetables
Vegetables turn your Tuna Helper from simple comfort food into a more balanced meal. The best vegetables for this dish are ones that cook quickly and don’t release too much water.
Frozen peas, corn, and carrots work perfectly because they’re already partially cooked. Just add them during the last 3-4 minutes of cooking time. Fresh bell peppers, zucchini, and spinach also work well if you chop them small.
Canned diced tomatoes add flavor and nutrition. Drain them first to avoid making your sauce too watery. The acid from tomatoes also helps balance the richness of the creamy sauce.
Whole Grain Alternatives
Most Tuna Helper varieties now come in whole grain versions that provide more fiber and nutrients. The cooking method stays exactly the same, but you might need to add an extra minute or two to the cooking time.
You can also make your own healthier version using whole wheat pasta and a homemade sauce mix. This gives you complete control over the ingredients and lets you avoid preservatives and excess sodium.
Protein Enhancements
While tuna provides good protein, you can boost it even more with beans or lentils. White beans work especially well because they have a mild flavor that doesn’t compete with the tuna. Rinse and drain canned beans before adding them with the tuna.
For extra protein and different flavors, try salmon instead of tuna, or use a combination of both. Leftover cooked chicken also works well if you have it on hand.
Make-Ahead and Storage Tips
Meal Prep Strategies
Tuna Helper is excellent for meal prep because it reheats well and actually tastes better the next day as the flavors blend together. Make a double batch on Sunday and portion it into containers for easy weekday lunches or dinners.
For freezer storage, slightly undercook the pasta since it will continue cooking when you reheat. Let the dish cool completely before freezing, and use freezer-safe containers. Properly stored, it will keep for up to 3 months.
When reheating, add a splash of milk or broth to restore the creamy texture. Microwave in 30-second intervals, stirring between each one, until heated through.
Leftover Transformation Ideas
Turn leftover Tuna Helper into completely new meals. Stuff it into bell peppers and bake for stuffed peppers. Mix it with beaten eggs and cook like a frittata. Or use it as a filling for quesadillas with some extra cheese.
Cold leftover Tuna Helper makes a surprisingly good pasta salad for lunch boxes. Just add some diced vegetables and a little extra seasoning to freshen it up.
Troubleshooting Common Tuna Helper Problems
Too Watery or Thin
If your sauce turns out too thin, don’t panic. Let it simmer uncovered for a few extra minutes to evaporate excess liquid. You can also mix 1 tablespoon of cornstarch with 2 tablespoons of cold milk and stir it in to thicken quickly.
Prevention is easier than fixing. Measure your liquids carefully and don’t add extra water beyond what the recipe calls for.
Bland or Lacking Flavor
Boxed mixes sometimes need a flavor boost. Salt and pepper are obvious choices, but don’t overlook garlic powder, onion powder, or dried herbs. A squeeze of fresh lemon juice brightens everything up and makes the flavors pop.
Umami boosters like Worcestershire sauce, soy sauce, or even a small amount of parmesan cheese can add depth and richness to your dish.
Overcooked or Mushy Texture
Once pasta becomes mushy, there’s no going back. Prevention is key here. Set a timer and check your pasta a minute or two before the recommended cooking time. It should be tender but still have a slight bite.
If you catch it early, immediately remove the pan from heat and let the residual heat finish the cooking process.
Budget-Friendly Shopping Tips
Best Deals on Tuna Helper Ingredients
Stock up when Tuna Helper goes on sale – it has a long shelf life and you’ll always use it. Many stores run promotions where you can get boxes for $1 each or less. Canned tuna also goes on sale frequently, especially during Lent when demand is higher.
Store brands often taste just as good as name brands but cost significantly less. Try different ones to find your favorite. The savings can add up to 30-40% over time.
Pantry Stocking Essentials
Keep these items on hand for emergency Tuna Helper meals: several boxes of different flavors, canned tuna (both oil and water-packed), shelf-stable milk or milk powder, and basic seasonings. With these ingredients, you can always make dinner happen.
Check expiration dates regularly and rotate your stock. While these items last a long time, using older items first ensures you always have fresh ingredients available.
Family-Friendly Serving Ideas
Side Dish Pairings
Tuna Helper pairs well with simple sides that don’t compete for attention. A basic green salad with Italian dressing complements the creamy pasta perfectly. Steamed broccoli or green beans add color and nutrition to your plate.
Warm dinner rolls or garlic bread make the meal feel more complete and help soak up any extra sauce. For something lighter, try sliced tomatoes with a sprinkle of salt and basil.
Presentation Tips
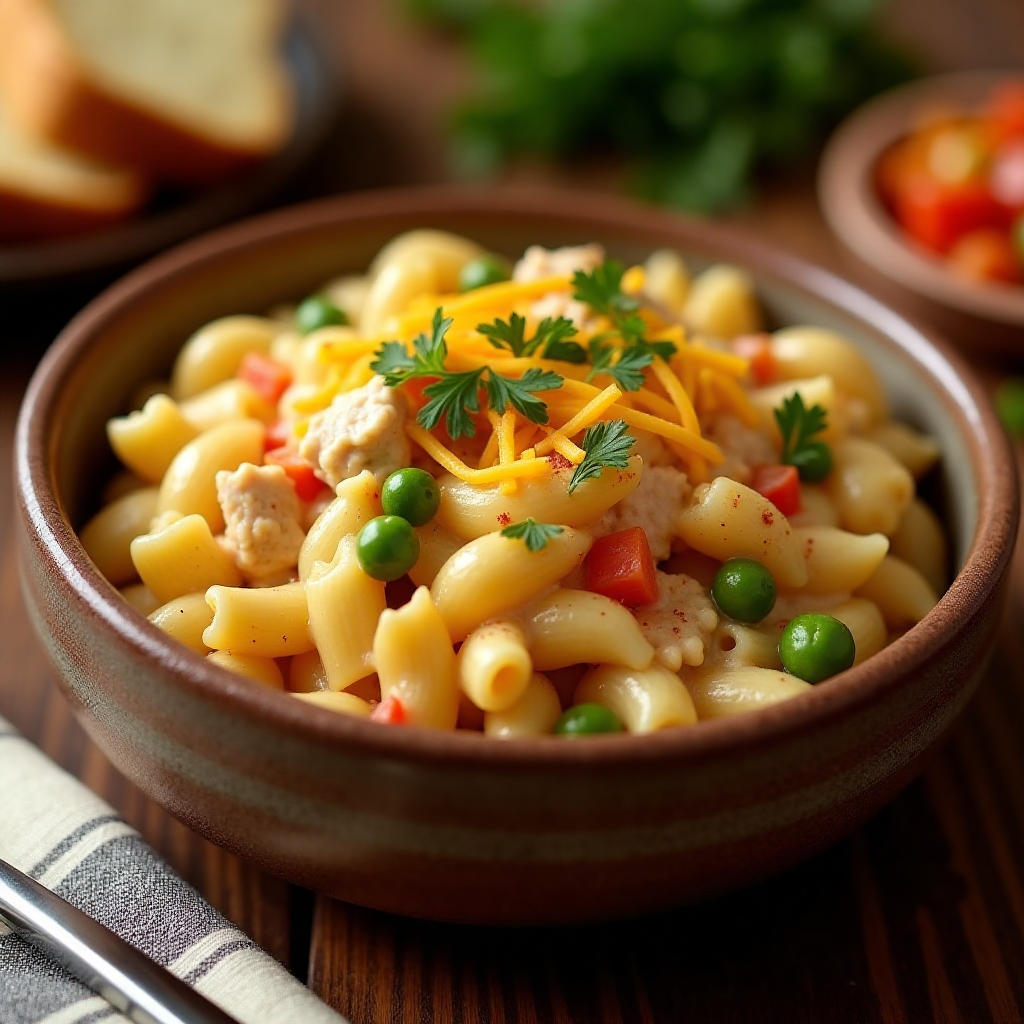
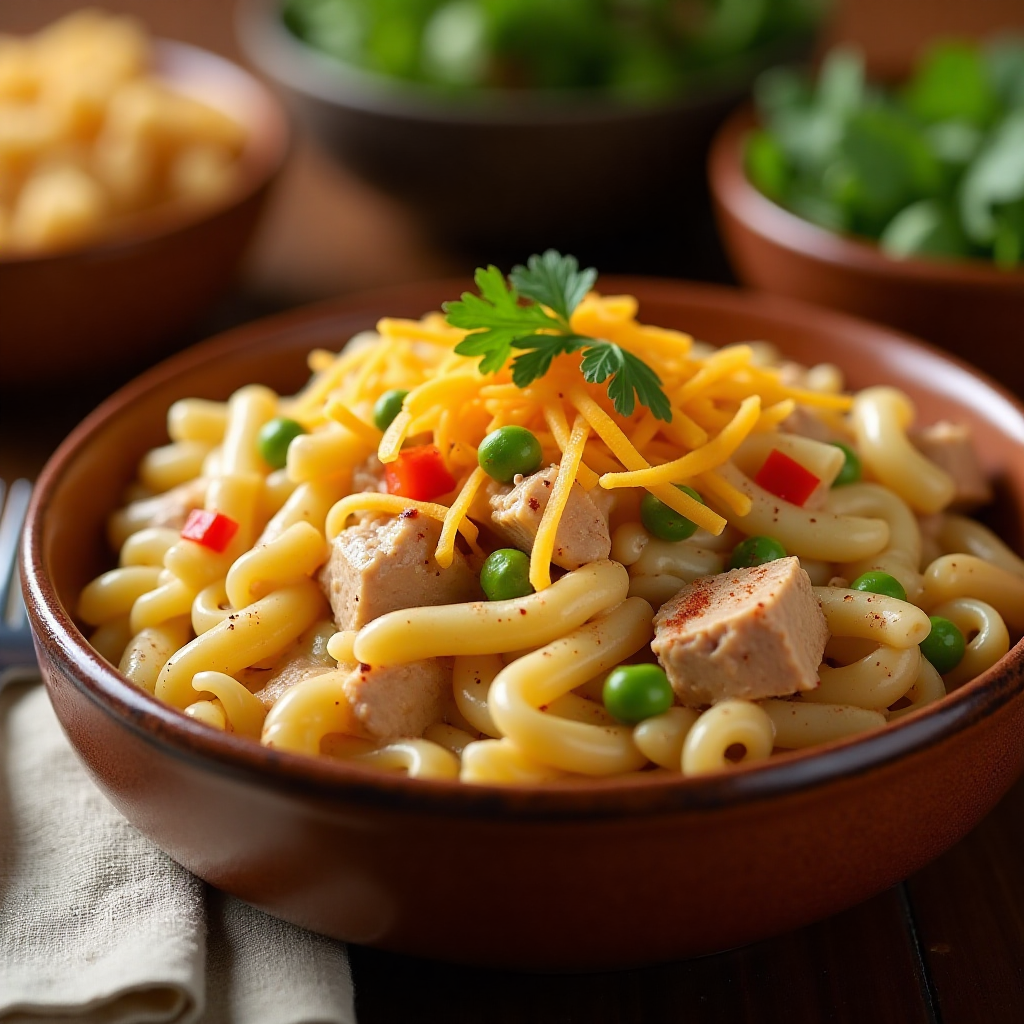
Make your Tuna Helper look more appealing by garnishing with fresh herbs like parsley or chives. A sprinkle of paprika adds color, and a lemon wedge on the side gives people the option to add brightness.
For kids, try serving it in fun bowls or letting them choose their own toppings from small dishes. This makes them feel involved and more likely to eat their dinner.
Frequently Asked Questions
Can I use fresh tuna instead of canned?
Yes! Fresh tuna makes this dish feel much more upscale. Cook the tuna steak just until it’s done (about 3-4 minutes per side), then flake it into chunks. Add it at the very end so it doesn’t overcook and become tough.
How do I make Tuna Helper gluten-free?
Look for gluten-free pasta and make your own sauce using cornstarch, milk, cheese, and seasonings. Many stores now carry gluten-free versions of popular boxed meals too.
What’s the best way to add vegetables?
Add quick-cooking vegetables like frozen peas or corn during the last 3-4 minutes. For fresh vegetables, cut them small so they cook evenly. Leafy greens like spinach can be stirred in right at the end.
Can I make this dairy-free?
Replace the milk with unsweetened plant milk like almond or oat milk. Use nutritional yeast instead of cheese for a similar flavor. Coconut milk makes it extra creamy but adds a slight coconut taste.
How long does leftover Tuna Helper last?
Properly stored in the refrigerator, leftover Tuna Helper stays good for 3-4 days. In the freezer, it keeps for up to 3 months. Always reheat thoroughly before eating.
Conclusion
Tuna Helper doesn’t have to be boring or basic. With these tips, tricks, and variations, you can turn this simple boxed dinner into meals that your family will actually get excited about. The convenience factor makes it perfect for busy weeknights, while the budget-friendly price keeps your grocery spending in check.
Remember that cooking is all about experimenting and finding what works for your family. Don’t be afraid to try new seasonings, vegetables, or cooking methods. Some of the best meals come from happy accidents and creative substitutions.
Start with one or two of these variations this week and see how your family responds. Once you find your favorites, you’ll have a reliable rotation of quick, delicious dinners that everyone can agree on.
What’s your favorite way to jazz up Tuna Helper? Share your creative variations and tips in the comments below – other busy parents would love to hear your ideas!