
Easy 10-Minute Apple Crisp Topping Recipe
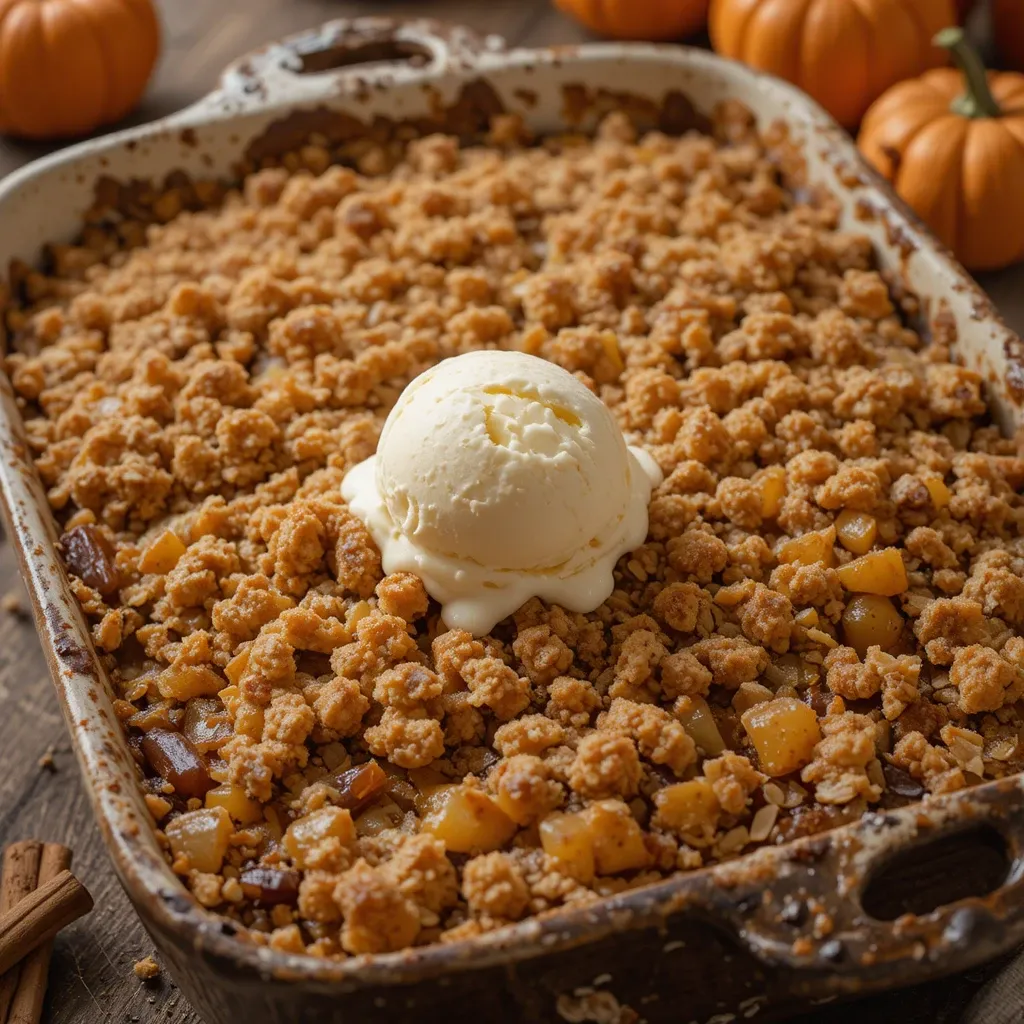
Nothing beats the heavenly aroma of golden apple crisp topping bubbling away in your oven. This magical combination of butter, oats, and brown sugar creates the most delightfully crunchy texture that perfectly complements tender, spiced apples beneath. Here’s a fun fact: apple crisp originated during World War II when rationing made traditional pie crusts difficult to make!
This recipe is wonderfully simple, taking just 10 minutes to prepare, and appeals to every family member from toddlers to grandparents. Unlike my popular peach cobbler recipe, this apple crisp topping requires no rolling or special techniques, making it perfect for beginner bakers ready to create something truly spectacular.
What is Apple Crisp Topping?
Ever wondered why we call it “crisp” topping when it’s actually more like delicious, buttery crumbs? The name comes from the satisfying crunch it develops during baking, creating a textural contrast that makes your taste buds dance with joy.
I like to think of it as nature’s way of putting a golden crown on humble apples. After all, they say the way to a man’s heart is through his stomach, and this topping certainly paves that delicious path! Ready to transform ordinary apples into an extraordinary dessert?
Why You’ll Love This Apple Crisp Topping
The Ultimate Comfort Food Experience
This apple crisp topping delivers the perfect balance of sweet and buttery flavors with an irresistible crunch that melts into tender goodness. The combination of rolled oats, brown sugar, and cinnamon creates layers of flavor that develop beautifully as they bake, filling your kitchen with the most welcoming aroma.
Budget-Friendly Homemade Goodness
Making your own apple crisp topping costs a fraction of store-bought alternatives while delivering superior taste and freshness. You control every ingredient, avoiding preservatives and artificial flavors while creating something infinitely more delicious than anything from a box.
Versatile and Customizable
This topping works beautifully on various fruits beyond apples – try it on pears, berries, or stone fruits. Unlike my classic apple pie recipe that requires precise pastry techniques, this forgiving topping adapts to your skill level and ingredient preferences, making it perfect for spontaneous baking adventures.
Ready to create this golden masterpiece in your own kitchen? Let’s dive into this foolproof recipe!
How to Make Apple Crisp Topping
Quick Overview
This apple crisp topping combines simple pantry staples into pure magic. The secret lies in achieving the perfect butter-to-dry ingredient ratio, creating clusters that bake into golden, crunchy perfection while staying tender inside.
Prep Time: 10 minutes
Bake Time: 35-40 minutes
Total Time: 50 minutes
Serves: 8-10
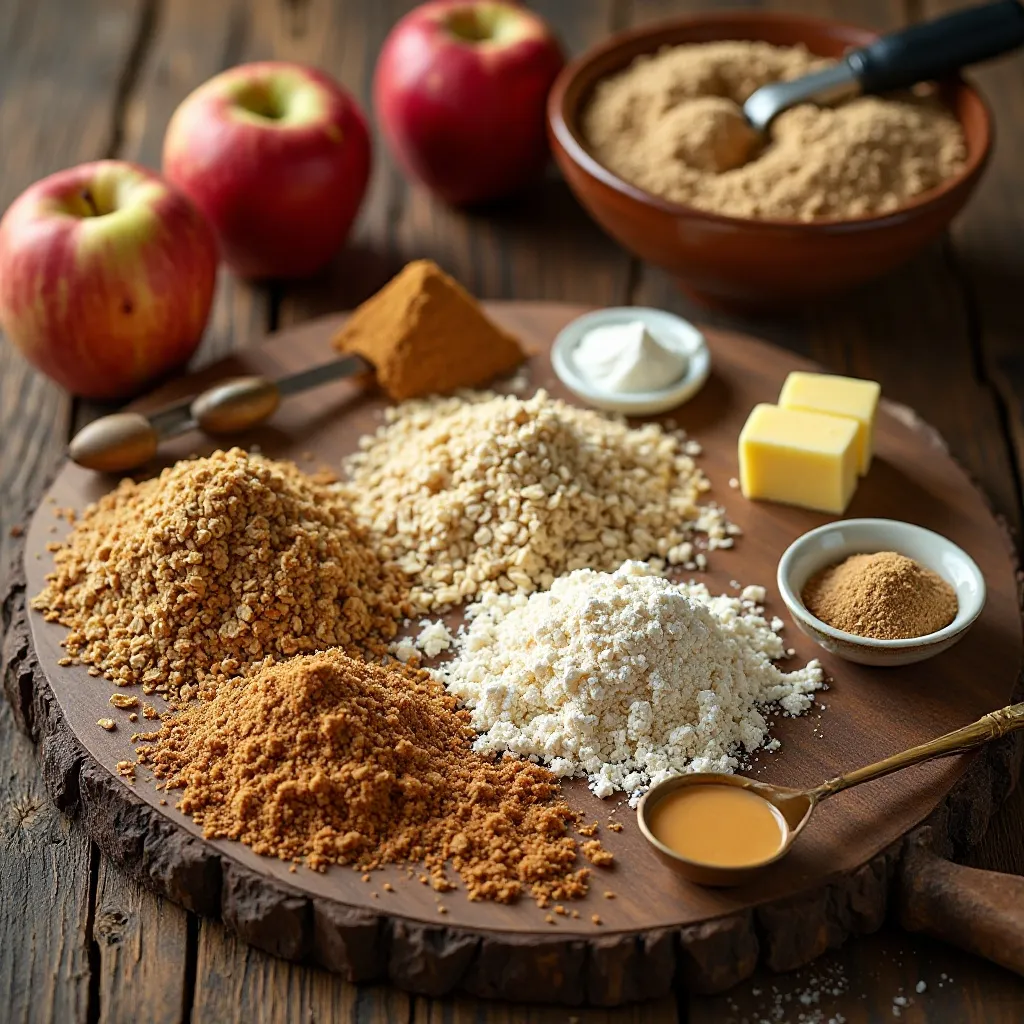
Key Ingredients for Apple Crisp Topping
- 1 cup old-fashioned rolled oats – provides texture and heartiness
- 3/4 cup all-purpose flour – creates structure and binding
- 3/4 cup packed light brown sugar – adds sweetness and caramel notes
- 1/2 cup cold unsalted butter, cubed – creates flaky, crispy texture
- 1 teaspoon ground cinnamon – warm spice that complements apples
- 1/2 teaspoon salt – enhances all flavors
- 1/4 teaspoon ground nutmeg – subtle warmth and depth
- 2 tablespoons maple syrup – adds moisture and rich flavor (optional)
Step-by-Step Instructions
Step 1: Prepare Your Workspace
Preheat your oven to 375°F (190°C). Grease a 9×13 inch baking dish with butter or cooking spray. This prevents sticking and ensures easy serving later.
Step 2: Mix the Dry Ingredients
In a large mixing bowl, combine rolled oats, flour, brown sugar, cinnamon, salt, and nutmeg. Whisk together until evenly distributed, breaking up any brown sugar clumps with your fingers.
Step 3: Cut in the Butter
Add cold, cubed butter to the dry ingredients. Using a pastry cutter, two forks, or your clean hands, work the butter into the mixture until it resembles coarse crumbs with some pea-sized butter pieces remaining. This creates the perfect texture contrast.
Step 4: Add Liquid (Optional)
If using maple syrup, drizzle it over the mixture and gently toss until just combined. This creates slightly larger clusters and adds extra flavor depth.
Step 5: Prepare Your Apples
Peel, core, and slice 6-8 medium apples (about 3 pounds). Toss with 2 tablespoons sugar, 1 tablespoon flour, and 1 teaspoon cinnamon. Arrange in your prepared baking dish.
Step 6: Top and Bake
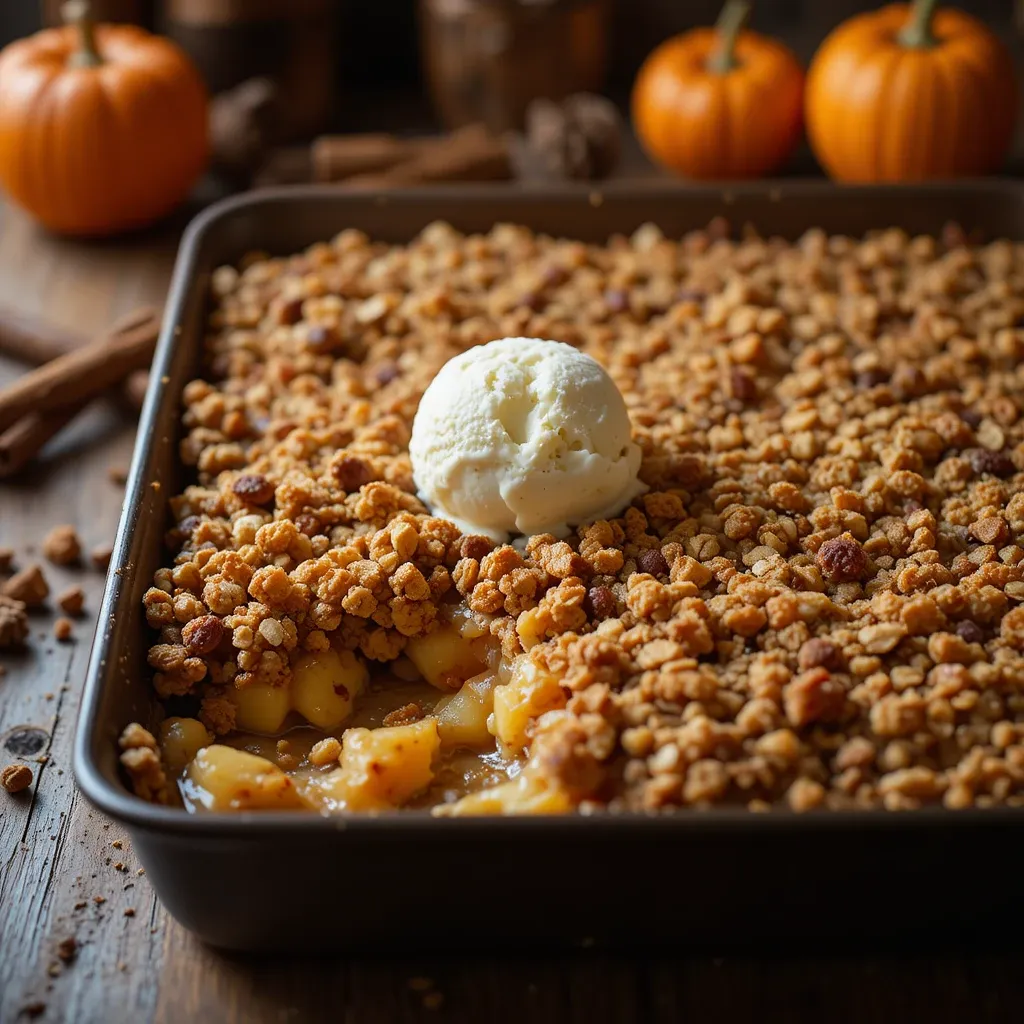
Evenly distribute the crisp topping over the prepared apples, covering completely. Bake for 35-40 minutes until the topping is golden brown and apples are tender when pierced with a fork.
Step 7: Cool and Serve
Let cool for 10-15 minutes before serving. The topping will continue crisping as it cools, creating the perfect texture.
What to Serve Apple Crisp Topping With
Classic Pairings:
- Vanilla ice cream – the cold creaminess perfectly balances warm spices
- Fresh whipped cream – light and airy complement to rich topping
- Caramel sauce – doubles down on the cozy, sweet flavors
Creative Additions:
- Greek yogurt with honey – adds protein and tangy contrast
- Cream cheese frosting – transforms it into an indulgent dessert
- Sharp cheddar cheese – surprisingly delicious sweet-savory combination
Beverage Suggestions:
- Hot apple cider or mulled wine
- Fresh coffee or chai tea
- Cold milk for the kids
Top Tips for Perfecting Apple Crisp Topping
Use Cold Butter
Cold butter creates the flakiest, most tender topping. Cut it into small cubes and keep refrigerated until ready to use. If your kitchen is warm, pop the butter back in the fridge for a few minutes during mixing.
Don’t Overmix
Work the butter just until you have coarse crumbs with visible butter pieces. Overmixing creates a dense, heavy topping instead of light and crispy clusters.
Choose the Right Apples
Mix tart and sweet varieties like Granny Smith with Honeycrisp or Gala. Tart apples hold their shape while sweet ones break down slightly, creating perfect texture variation.
Prevent Soggy Bottom
Toss apple slices with a tablespoon of flour to absorb excess moisture. Place the baking dish on a rimmed baking sheet to catch any overflow.
Make-Ahead Magic
Assemble the entire dish up to 24 hours ahead. Cover tightly and refrigerate, then bake as directed, adding 5-10 extra minutes if needed.
Storing and Reheating Tips
Storage Guidelines
- Room Temperature: Cover and store up to 2 days
- Refrigerator: Keep covered for up to 5 days
- Freezer: Wrap tightly and freeze up to 3 months
Reheating Instructions
- Oven Method: Reheat at 350°F for 15-20 minutes until warmed through
- Individual Portions: Microwave 30-45 seconds on medium power
- Topping Crispiness: For maximum crunch, reheat uncovered in the oven
Freezing Tips
Assemble the dish completely but don’t bake. Wrap tightly in plastic wrap, then aluminum foil. Freeze up to 3 months. Bake from frozen, adding 15-20 minutes to cooking time.
Nutritional Information
| Nutrient | Per Serving (1/8 recipe) |
|---|---|
| Calories | 285 |
| Total Fat | 8g |
| Saturated Fat | 5g |
| Carbohydrates | 52g |
| Fiber | 4g |
| Sugar | 38g |
| Protein | 3g |
| Sodium | 150mg |
Frequently Asked Questions
Can I make apple crisp topping gluten-free?
Yes! Substitute the all-purpose flour with almond flour or a 1:1 gluten-free flour blend. The texture will be slightly different but equally delicious.
What’s the best apple variety for crisp?
Granny Smith apples are ideal because they hold their shape and provide tartness. Mix with sweeter varieties like Honeycrisp or Fuji for complexity.
Can I use quick oats instead of old-fashioned?
Old-fashioned oats provide better texture and don’t break down as much during baking. Quick oats work in a pinch but create a softer topping.
How do I know when the apple crisp is done?
The topping should be golden brown and the apples tender when pierced with a knife. If the topping browns too quickly, cover with foil.
Can I add nuts to the topping?
Absolutely! Chopped pecans, walnuts, or almonds add wonderful crunch. Add 1/2 cup with the dry ingredients.
Why is my topping not crispy?
This usually happens from too much moisture or butter that wasn’t cold enough. Ensure apples aren’t overly juicy and use cold butter cut into small pieces.
Can I make this dairy-free?
Yes! Replace butter with cold coconut oil or vegan butter substitute. The texture will be slightly different but still delicious.
How do I prevent the bottom from getting soggy?
Toss apple slices with flour to absorb excess moisture, and avoid overcrowding the pan. Pre-baking the apples for 10 minutes can also help.
Pro Baker’s Extra Tips
Flavor Variations
- Maple Pecan: Add chopped pecans and replace some brown sugar with maple syrup
- Tropical Twist: Use coconut flakes and macadamia nuts for a Hawaiian vibe
- Spice Blend: Try cardamom, ginger, or allspice for unique flavor profiles
Texture Enhancements
- Extra Crunch: Add crushed graham crackers or granola
- Protein Boost: Include chopped almonds or sunflower seeds
- Sweetness Balance: Mix in a tablespoon of lemon zest to brighten flavors
Seasonal Adaptations
This versatile topping works beautifully on:
- Summer: Peaches, berries, or stone fruit combinations
- Fall: Pears, cranberries, or mixed autumn fruits
- Winter: Dried fruits mixed with fresh apples
- Spring: Rhubarb and strawberry combinations
The beauty of this apple crisp topping lies in its simplicity and adaptability. Whether you’re creating a last-minute dessert for unexpected guests or planning a special family gathering, this recipe delivers consistent, crowd-pleasing results every single time. The golden, buttery crumbs create the perfect contrast to tender, spiced fruit beneath, making every bite a delightful experience that captures the essence of homemade comfort food.
Remember, the best recipes are meant to be shared, adapted, and passed down through generations. Make this apple crisp topping your own by experimenting with different spices, nuts, or fruit combinations. Your family will thank you for creating such delicious memories, one golden, crispy bite at a time!