
10 Minute Seared Salmon Sushi Recipe
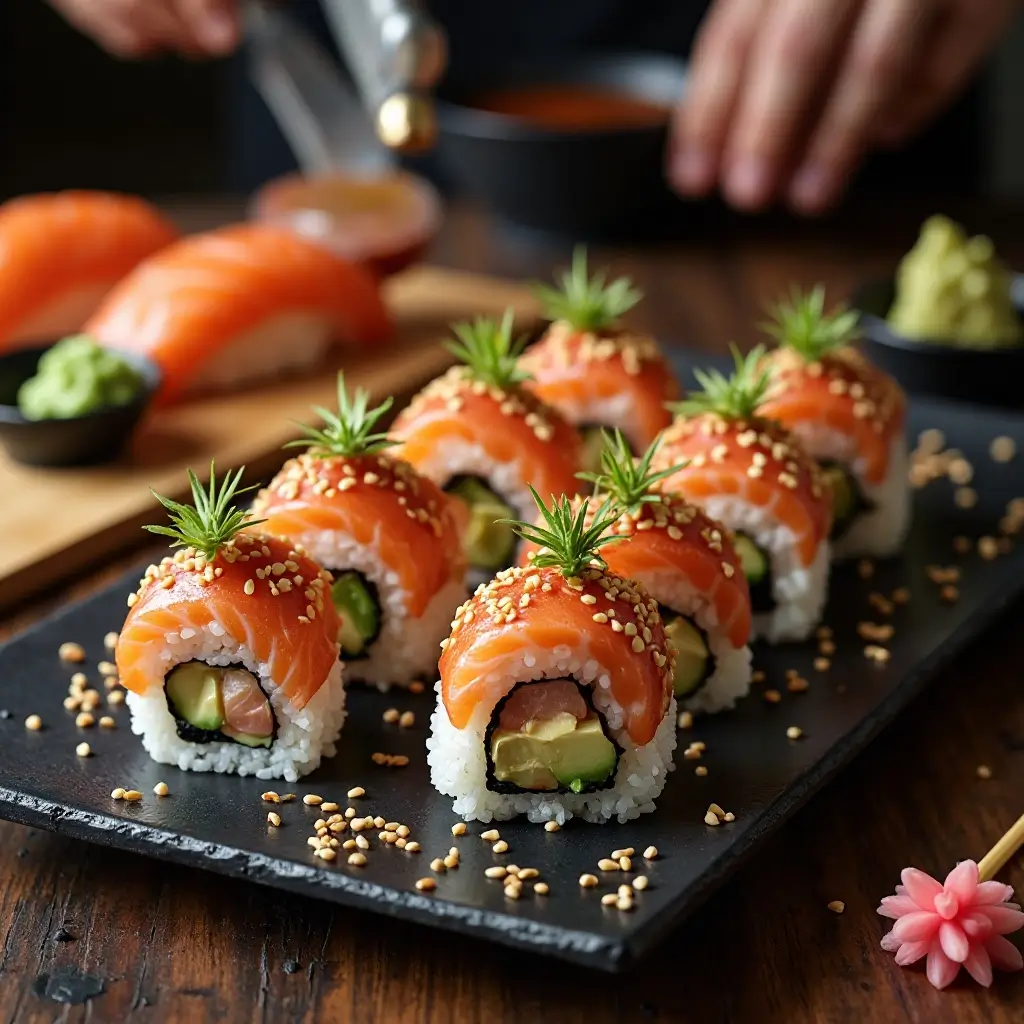
Imagine biting into perfectly seared salmon that’s crispy on the outside yet buttery and tender within, all nestled atop seasoned sushi rice. This seared salmon sushi combines the best of both worlds – the rich, smoky flavor of lightly torched fish with the delicate art of Japanese cuisine.
Did you know that searing salmon for sushi actually originated in Japanese restaurants as a way to appeal to Western palates who were hesitant about raw fish? This technique creates an incredible contrast of textures that will make your taste buds dance.
Table of Contents
What makes this dish truly special is its surprising simplicity – you don’t need years of sushi training to create restaurant-quality results at home. Unlike our popular spicy tuna rolls that require multiple components, this seared salmon sushi focuses on letting the star ingredient shine. Get ready to impress your family and friends with this stunning yet achievable culinary masterpiece!
What is Seared Salmon Sushi?
Ever wondered why we call it “seared” when we’re barely cooking the fish? Think of it as giving your salmon a quick spa treatment with heat! This technique involves quickly cooking just the outer layer of the salmon while keeping the inside beautifully rare and silky. It’s like the salmon is wearing a perfectly toasted jacket while staying cool and collected underneath.
The Japanese call this “aburi,” which literally means “flame-seared.” You know what they say – the way to a man’s heart is through his stomach, and nothing says “I care” quite like homemade sushi that looks like it came from a five-star restaurant. Ready to become the sushi chef your kitchen never knew it needed?
Why You’ll Love This Seared Salmon Sushi
Rich, Smoky Flavor That Melts in Your Mouth
The star of this dish is undoubtedly the perfectly seared salmon that delivers an incredible depth of flavor. The brief kiss of heat creates a caramelized crust that adds a subtle smoky note, while the interior remains luxuriously buttery and tender. Each bite offers a symphony of textures – from the slight crispness of the seared surface to the silky, almost custard-like center that practically melts on your tongue.
Save Money While Enjoying Premium Quality
Making seared salmon sushi at home costs a fraction of what you’d pay at a high-end sushi restaurant. A single serving at a restaurant can cost $15-20, but you can create the same quality dish for under $5 per serving. You’ll have complete control over the quality of your ingredients, ensuring you’re using the freshest fish and perfectly seasoned rice every time.
Customize with Your Favorite Toppings
The beauty of this recipe lies in its versatility. Top your seared salmon sushi with everything from creamy avocado and crunchy cucumber to spicy mayo and toasted sesame seeds. Add a drizzle of eel sauce for sweetness or a touch of wasabi for heat. Unlike our classic California rolls that have a set ingredient list, this seared salmon sushi becomes your blank canvas for creativity. Why not start your sushi-making journey today and discover your own perfect combination?
How to Make Seared Salmon Sushi
Quick Overview
This seared salmon sushi recipe is surprisingly straightforward and delivers restaurant-quality results every time. The key is using high-quality sushi-grade salmon and taking your time with the searing process to achieve that perfect golden crust. The combination of properly seasoned sushi rice, perfectly seared fish, and fresh toppings creates an unforgettable dining experience.
Preparation Time:
- Prep: 20 minutes
- Cook: 10 minutes
- Rice cooking: 25 minutes
- Total: 55 minutes
- Serves: 4-6 people
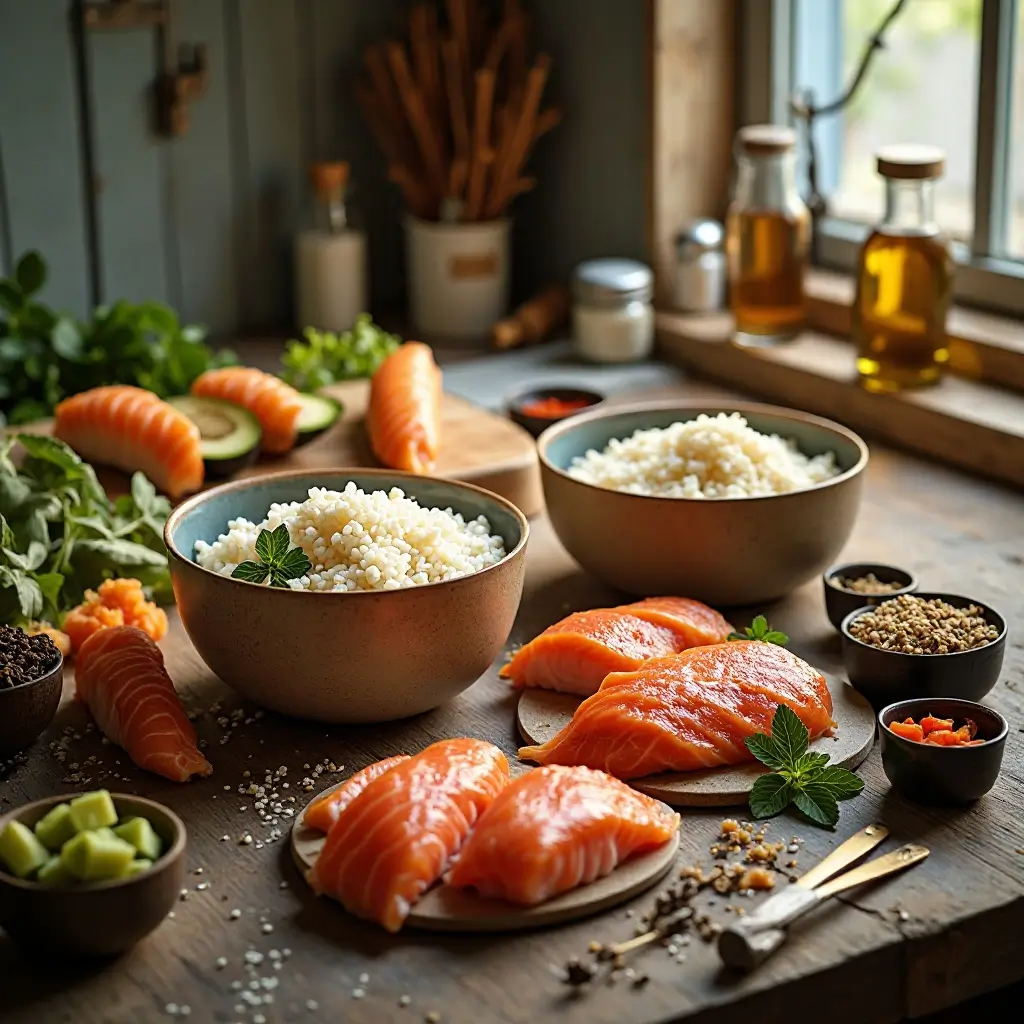
Key Ingredients for Seared Salmon Sushi
For the Sushi Rice:
- 2 cups sushi rice (short-grain)
- 2½ cups water
- ⅓ cup rice vinegar
- 2 tablespoons sugar
- 1 teaspoon salt
For the Seared Salmon:
- 1 lb sushi-grade salmon fillet, skin removed
- 2 tablespoons vegetable oil
- 1 teaspoon sesame oil
- Salt and pepper to taste
For Assembly and Toppings:
- 1 sheet nori (seaweed), cut into strips
- 1 avocado, sliced
- 1 cucumber, julienned
- 2 tablespoons mayonnaise
- 1 tablespoon sriracha
- 2 tablespoons eel sauce
- 1 tablespoon sesame seeds, toasted
- Wasabi for serving
- Pickled ginger for serving
Step-by-Step Instructions
Step 1: Prepare the Sushi Rice Rinse the sushi rice under cold water until the water runs clear, about 3-4 minutes. Cook the rice in a rice cooker or pot with 2½ cups water. While the rice cooks, mix rice vinegar, sugar, and salt in a small bowl until dissolved. Once rice is cooked, transfer to a large bowl and gradually fold in the vinegar mixture. Fan the rice while mixing to cool it down and achieve the perfect glossy texture. Set aside to cool completely.
Step 2: Prepare the Salmon Pat the salmon fillet dry with paper towels and season both sides with salt and pepper. Let it sit at room temperature for 10 minutes. Cut the salmon into rectangular pieces, about 3 inches long and 1 inch wide – perfect for topping your sushi rice. The pieces should be thick enough to sear properly without cooking through.
Step 3: Sear the Salmon Heat vegetable oil and sesame oil in a non-stick pan over medium-high heat. When the oil shimmers, carefully place the salmon pieces in the pan. Sear for 45-60 seconds per side until golden brown and crispy. The goal is to create a beautiful crust while keeping the center rare. Remove from heat and let cool slightly.
Step 4: Shape the Sushi Rice With slightly wet hands, take about 2 tablespoons of sushi rice and gently shape it into an oval mound. The rice should hold together but not be packed too tightly. Repeat to make 12-15 pieces. Place them on a serving platter.
Step 5: Assemble the Sushi Place one piece of seared salmon on top of each rice mound. Gently press to adhere but don’t squash the rice. Add thin avocado slices and cucumber strips as desired. Mix mayonnaise and sriracha to create spicy mayo, then drizzle over the sushi along with eel sauce.
Step 6: Final Touches Sprinkle toasted sesame seeds over each piece and garnish with thin strips of nori. Serve immediately with wasabi and pickled ginger on the side. The contrast between the warm, seared salmon and cool, seasoned rice creates the perfect bite.
What to Serve Seared Salmon Sushi With
Pair your seared salmon sushi with a crisp cucumber salad dressed in rice vinegar for a refreshing contrast. Miso soup makes an excellent starter, while edamame provides a protein-rich side dish. For beverages, consider sake, Japanese beer, or green tea. A simple seaweed salad adds authentic Japanese flavors, and tempura vegetables create a satisfying, well-rounded meal.
Top Tips for Perfecting Seared Salmon Sushi
Choose the Right Salmon
Always use sushi-grade salmon from a reputable fishmonger. The fish should smell fresh and oceanic, never fishy. If sushi-grade isn’t available, you can freeze regular salmon at -4°F for 7 days to kill parasites, though the texture won’t be quite the same.
Master the Searing Technique
The key to perfect searing is high heat and timing. Don’t move the salmon once it hits the pan – let it develop that golden crust. If your pan isn’t hot enough, the salmon will cook through instead of just searing the surface.
Rice Consistency Matters
Your sushi rice should be at room temperature when assembling. Too hot and it will cook the fish further; too cold and it won’t stick properly. The rice should be seasoned enough to taste slightly tangy but not overpowering.
Keep Your Hands Wet
Always wet your hands when working with sushi rice to prevent sticking. Keep a bowl of water nearby for frequent hand-dipping. This simple trick makes the assembly process much smoother.
Storing and Reheating Tips
Seared salmon sushi is best enjoyed fresh but can be stored in the refrigerator for up to 24 hours. Wrap individual pieces in plastic wrap and store in an airtight container. The rice may become slightly firm when cold, but the flavors will still be delicious.
For the best experience, bring the sushi to room temperature for 10-15 minutes before serving. Never microwave assembled sushi as it will make the rice mushy and overcook the salmon. If you have leftover components, store the rice and salmon separately and assemble fresh pieces as needed.
The seared salmon can be stored separately for up to 2 days and gently reheated in a dry pan for 30 seconds per side. Leftover sushi rice keeps well for 3 days in the refrigerator and can be used for other sushi creations.
Nutritional Information
| Nutrient | Per Serving (3 pieces) |
|---|---|
| Calories | 285 |
| Protein | 24g |
| Fat | 12g |
| Carbohydrates | 22g |
| Fiber | 2g |
| Sodium | 420mg |
| Omega-3 | 1.8g |
Frequently Asked Questions
Can I use frozen salmon for this recipe?
Yes, but make sure to thaw it completely and pat it very dry before searing. Frozen salmon may release more moisture, making it harder to achieve a good sear.
What’s the difference between sushi-grade and regular salmon?
Sushi-grade salmon has been frozen at specific temperatures to kill parasites and is safe to eat raw. Regular salmon should be frozen at home before use or cooked thoroughly.
How do I know when the salmon is perfectly seared?
The salmon should have a golden-brown crust on the outside while remaining translucent and soft in the center. It should take about 45-60 seconds per side over medium-high heat.
Can I make the rice ahead of time?
Yes, sushi rice can be made up to 4 hours ahead. Keep it covered with a damp towel at room temperature. Don’t refrigerate it as this will make it hard and dry.
What if I don’t have a rice cooker?
You can cook sushi rice in a regular pot. Use a 1:1.25 ratio of rice to water, bring to a boil, then reduce heat to low and simmer covered for 18 minutes.
How thin should I slice the salmon?
Cut the salmon into pieces about ¼ inch thick. This allows for proper searing while keeping the center rare and maintains the right proportion with the rice.
Pro Chef Secrets
Want to take your seared salmon sushi to the next level? Here are some insider tips that professional sushi chefs use:
The Ice Bath Trick: After searing, briefly dip the salmon in an ice bath to stop the cooking process immediately. This ensures the perfect texture contrast.
Rice Temperature Control: Professional chefs keep their sushi rice at exactly 98.6°F (body temperature). This feels neutral to the touch and creates the perfect eating experience.
The Torch Finish: For an extra smoky flavor, use a kitchen torch to lightly char the edges of your seared salmon just before serving.
Seasonal Variations: Try this recipe with different seasonal toppings like thinly sliced pear in fall or fresh herbs in spring to keep it exciting year-round.
This seared salmon sushi recipe transforms a restaurant favorite into an achievable home cooking project. With practice, you’ll be creating beautiful, delicious sushi that rivals any high-end establishment. The combination of perfectly seasoned rice, expertly seared salmon, and fresh toppings creates a memorable dining experience that’s sure to impress family and friends alike.